

Buns and Rolls
What exactly is a bun
It is a small, round bread that is either sweet, plain or savoury. This term comes from the Middle English bunne and the Old French bugne, probably meaning around bump. Buns are also known as rolls, commonly used as a side dish with meat or veggies. Ever since, we have been savoring these buns and rolls, filling them with jams, cheese, veggies, patties or topping them with caramel and cream.
There are various names for the simple buns, such as the Chinese dumplings called baozi, or the British cob (a simple bun), bap (soft and rich with more butter) and batch (a sweet bread). There are 21 such names or varieties of buns in various regions of Britain alone. The list would be a big one and quite interesting too, but I will stop here because we may get lost in this maze and lose our focus, which is to keep things simply simple!
For you and me, the bun is reminiscent of the sweet buns with colorful tutti frutti, or the plain buns – soft and golden brown from the outside, which the bread walas old in neighbourhood stalls or on his rickety bicycle shouting out, Bread le lo! Bun makhan le lo!. Who doesn’t remember the famous Hot Cross Buns which featured in the poems, comics and novels of our youth and are etched in our memory? Here is your chance to learn to bake them.
- Stuffed buns
- Hot-cross buns
- Masala buns
- Sweet buns
A note about the dough for buns
When I say bread, it not only means bread loaf, but all similar bakes made with bread dough, such as buns, pizza, garlic bread, focaccia, slow rise bread, pitas, calzones etc.
To keep things simple, there are only two types of dough for all my bread recipes:
- The first one is a Basic bread dough, mainly consisting of wheat flour, yeast and water along with very little oil, salt and sugar.
- The second one is the Bun dough which is richer, as it has these ingredients:
- Sugar or honey
- Butter or oil
- Egg
- Buttermilk or thick curd (as a substitute for egg)
- Milk or milk powder
- Lemon or vinegar
- Herbs and seeds
- A dash of baking soda
The Bun dough, which is our rich dough, can be used for all other breads like pizza, calzone, cheese garlic breads, stuffed breads, buns, dinner rolls, focaccia, pavs, kulchas and even for cinnabons and sweet breads with some variation!
Prep. Time
15 Minutes
Total Time (Approx.)
2 hours

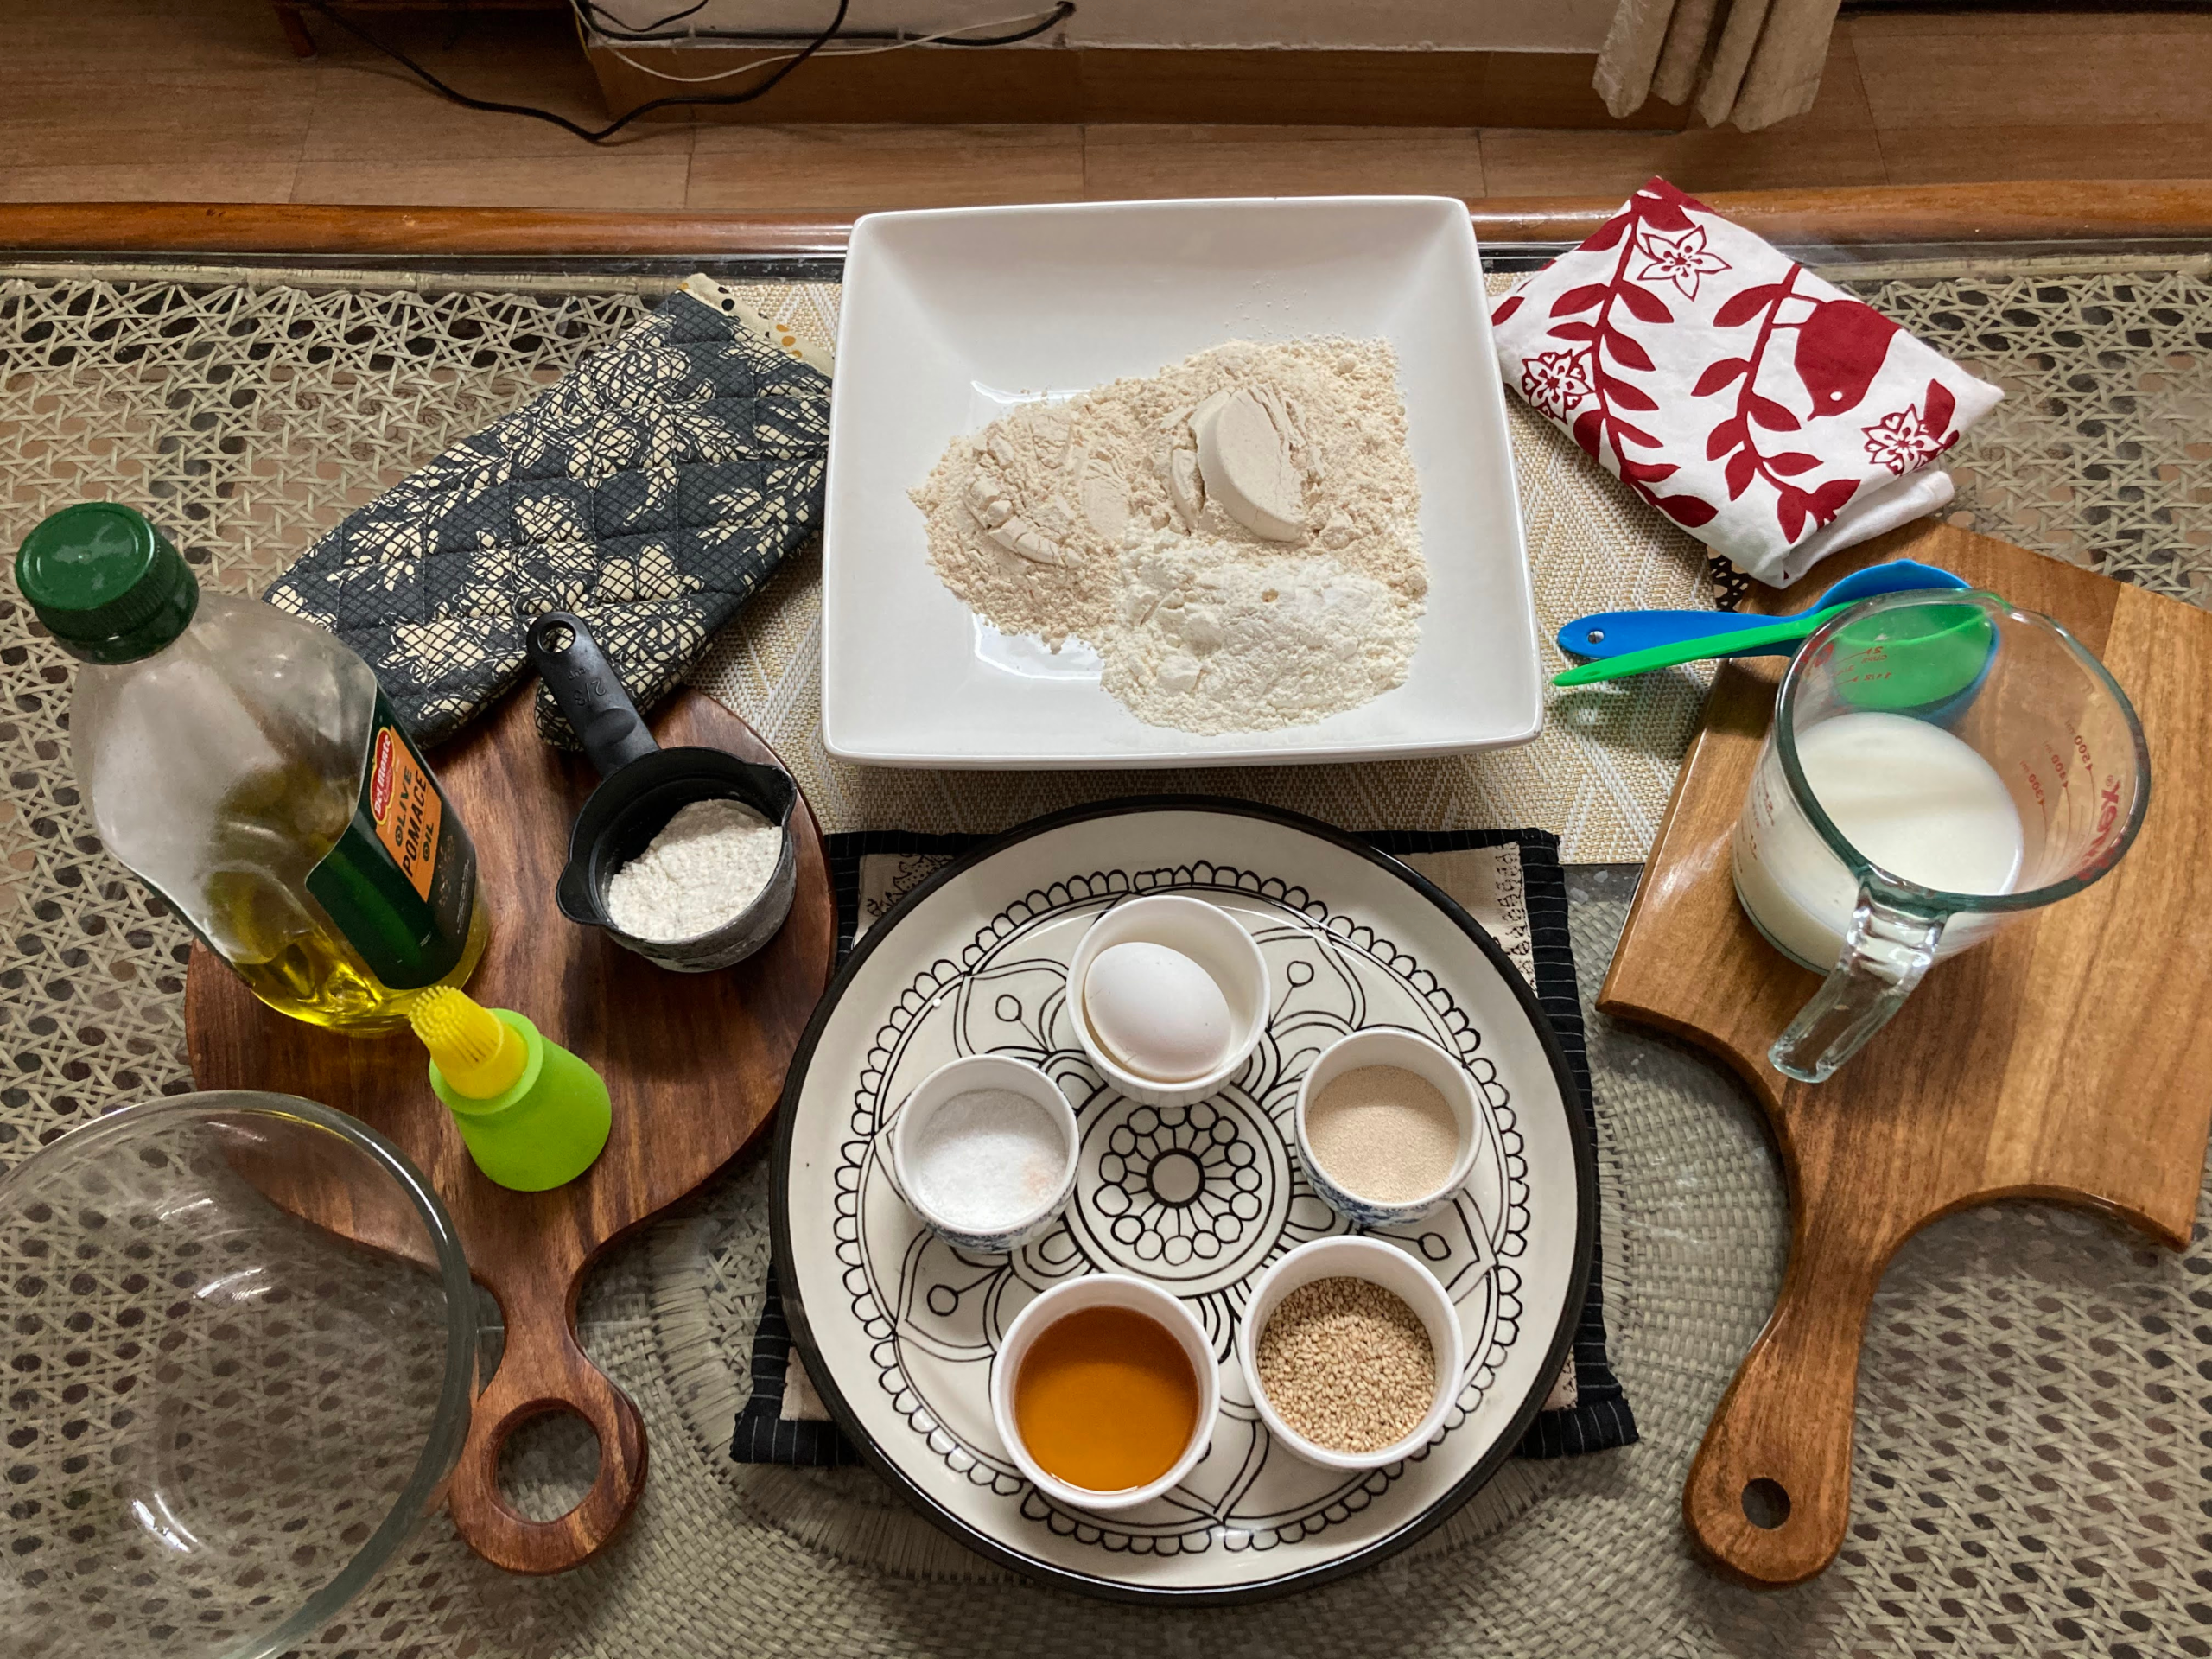
Ingredients

Instructions

Baker’s Tips
Ingredients
- Whole wheat flour – 1&1/2 cup (210 grams)
- Maida/ strong unbleached bread flour – 1 cup (120 grams)
- Yeast – 1 &1/2 tsp
- Sugar or honey – 2 tbsp
- Milk powder – 2 tbsp
- Warm milk – 1/2 cup (120 ml)
- Warm water- 1/2 cup (120 ml)
- Oil or butter – 3 to 4 tbsp (1/4 cup)
- Salt – 1 tsp
- Baking soda – 1/4 tsp
- 1 egg (beat well) OR Thick curd – 3 tbsp
- White vinegar – 1 tsp OR Lemon juice – 1 tsp
- 1 egg for egg wash
Dough for softer breads.
In all the bread recipes, to make soft and less dense breads, the key is to make soft dough and have more hydration (i.e. the liquid content). The general rule is that hydration should be 50% to 60% (i.e. if flour is 100 grams, liquid should be 50 grams to 60 grams or 50ml to 60ml).
Remember, while using wholewheat flour (which is less refined and absorbs more liquid), the breads improve with more hydration. In my recipes, I keep hydration around 75%.
Do remember to include all wet ingredients such as oil, butter, milk, water etc. in the liquid content that you add to the flour.
Instructions
Step 1
Mix all the dry ingredients except yeast and sift the flour well as aeration helps in baking good structured breads. Do not add salt now. We will add it later.
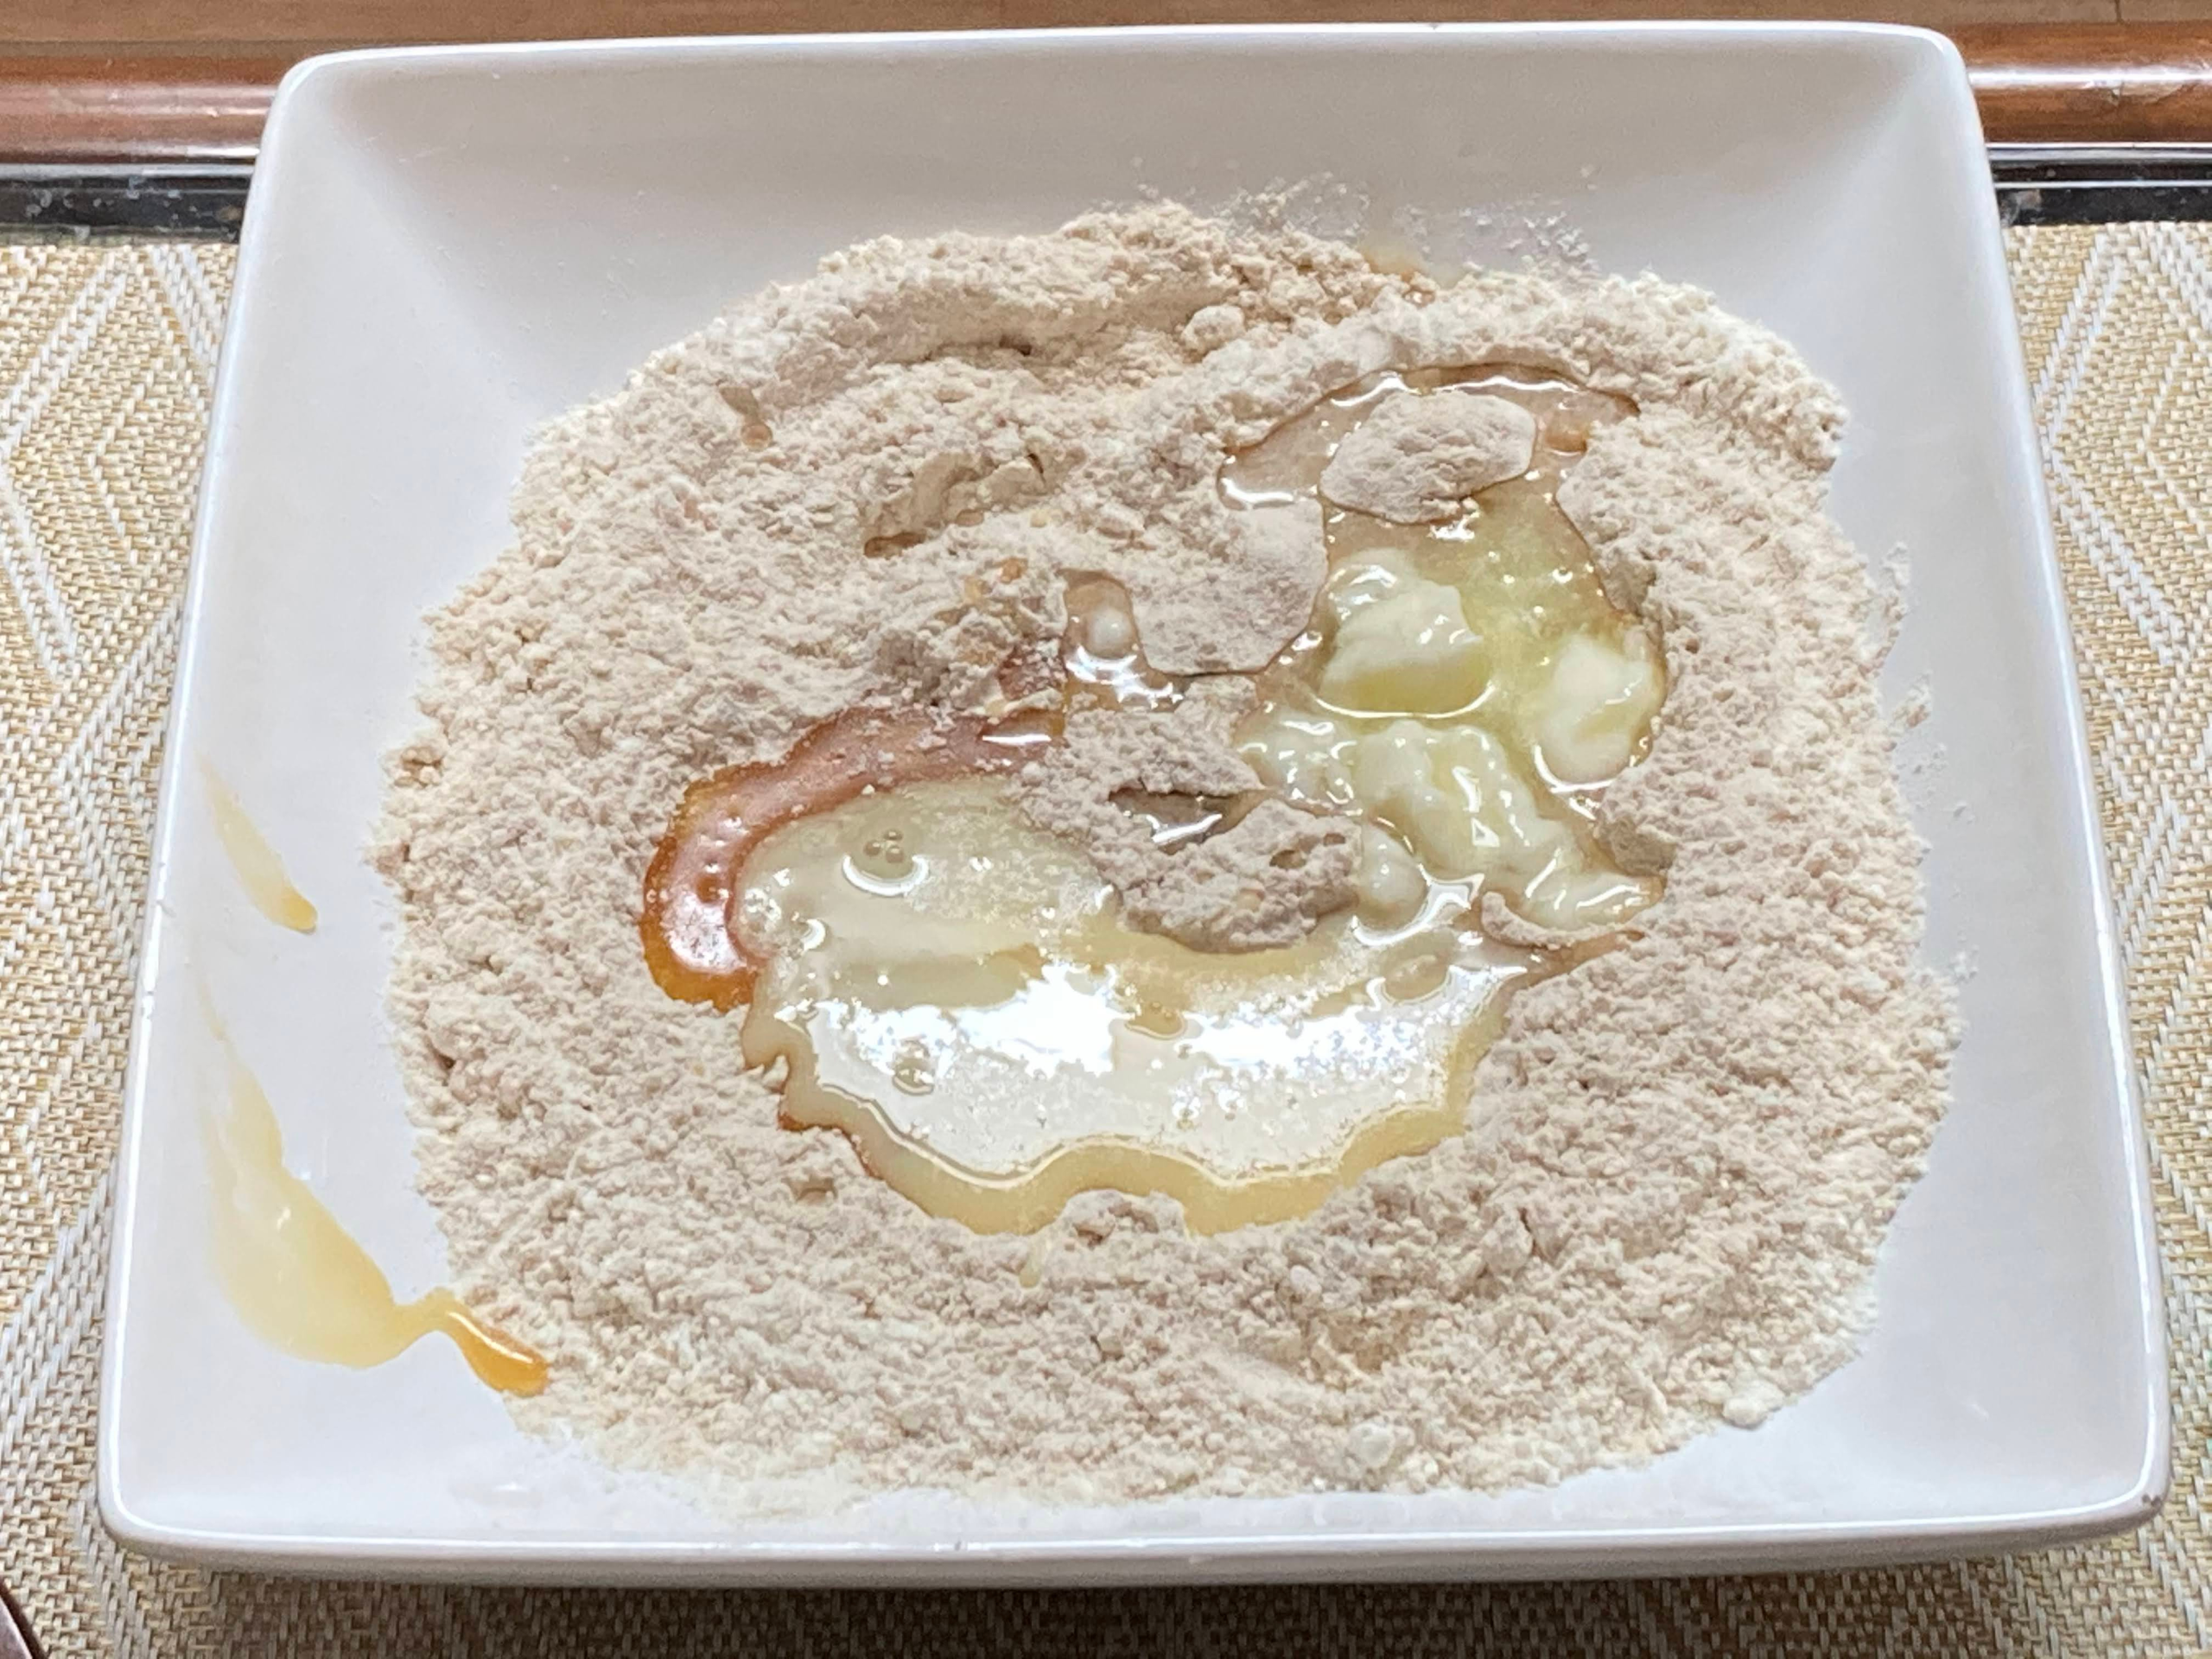
Step 2
Add the wet ingredients gradually, stir well and keep the dough aside for 1/2 an hour or so. This process is called autolyse. It helps in breaking down the enzymes and gluten formation for well structured and flavoured breads. We can now add yeast and salt to the dough.
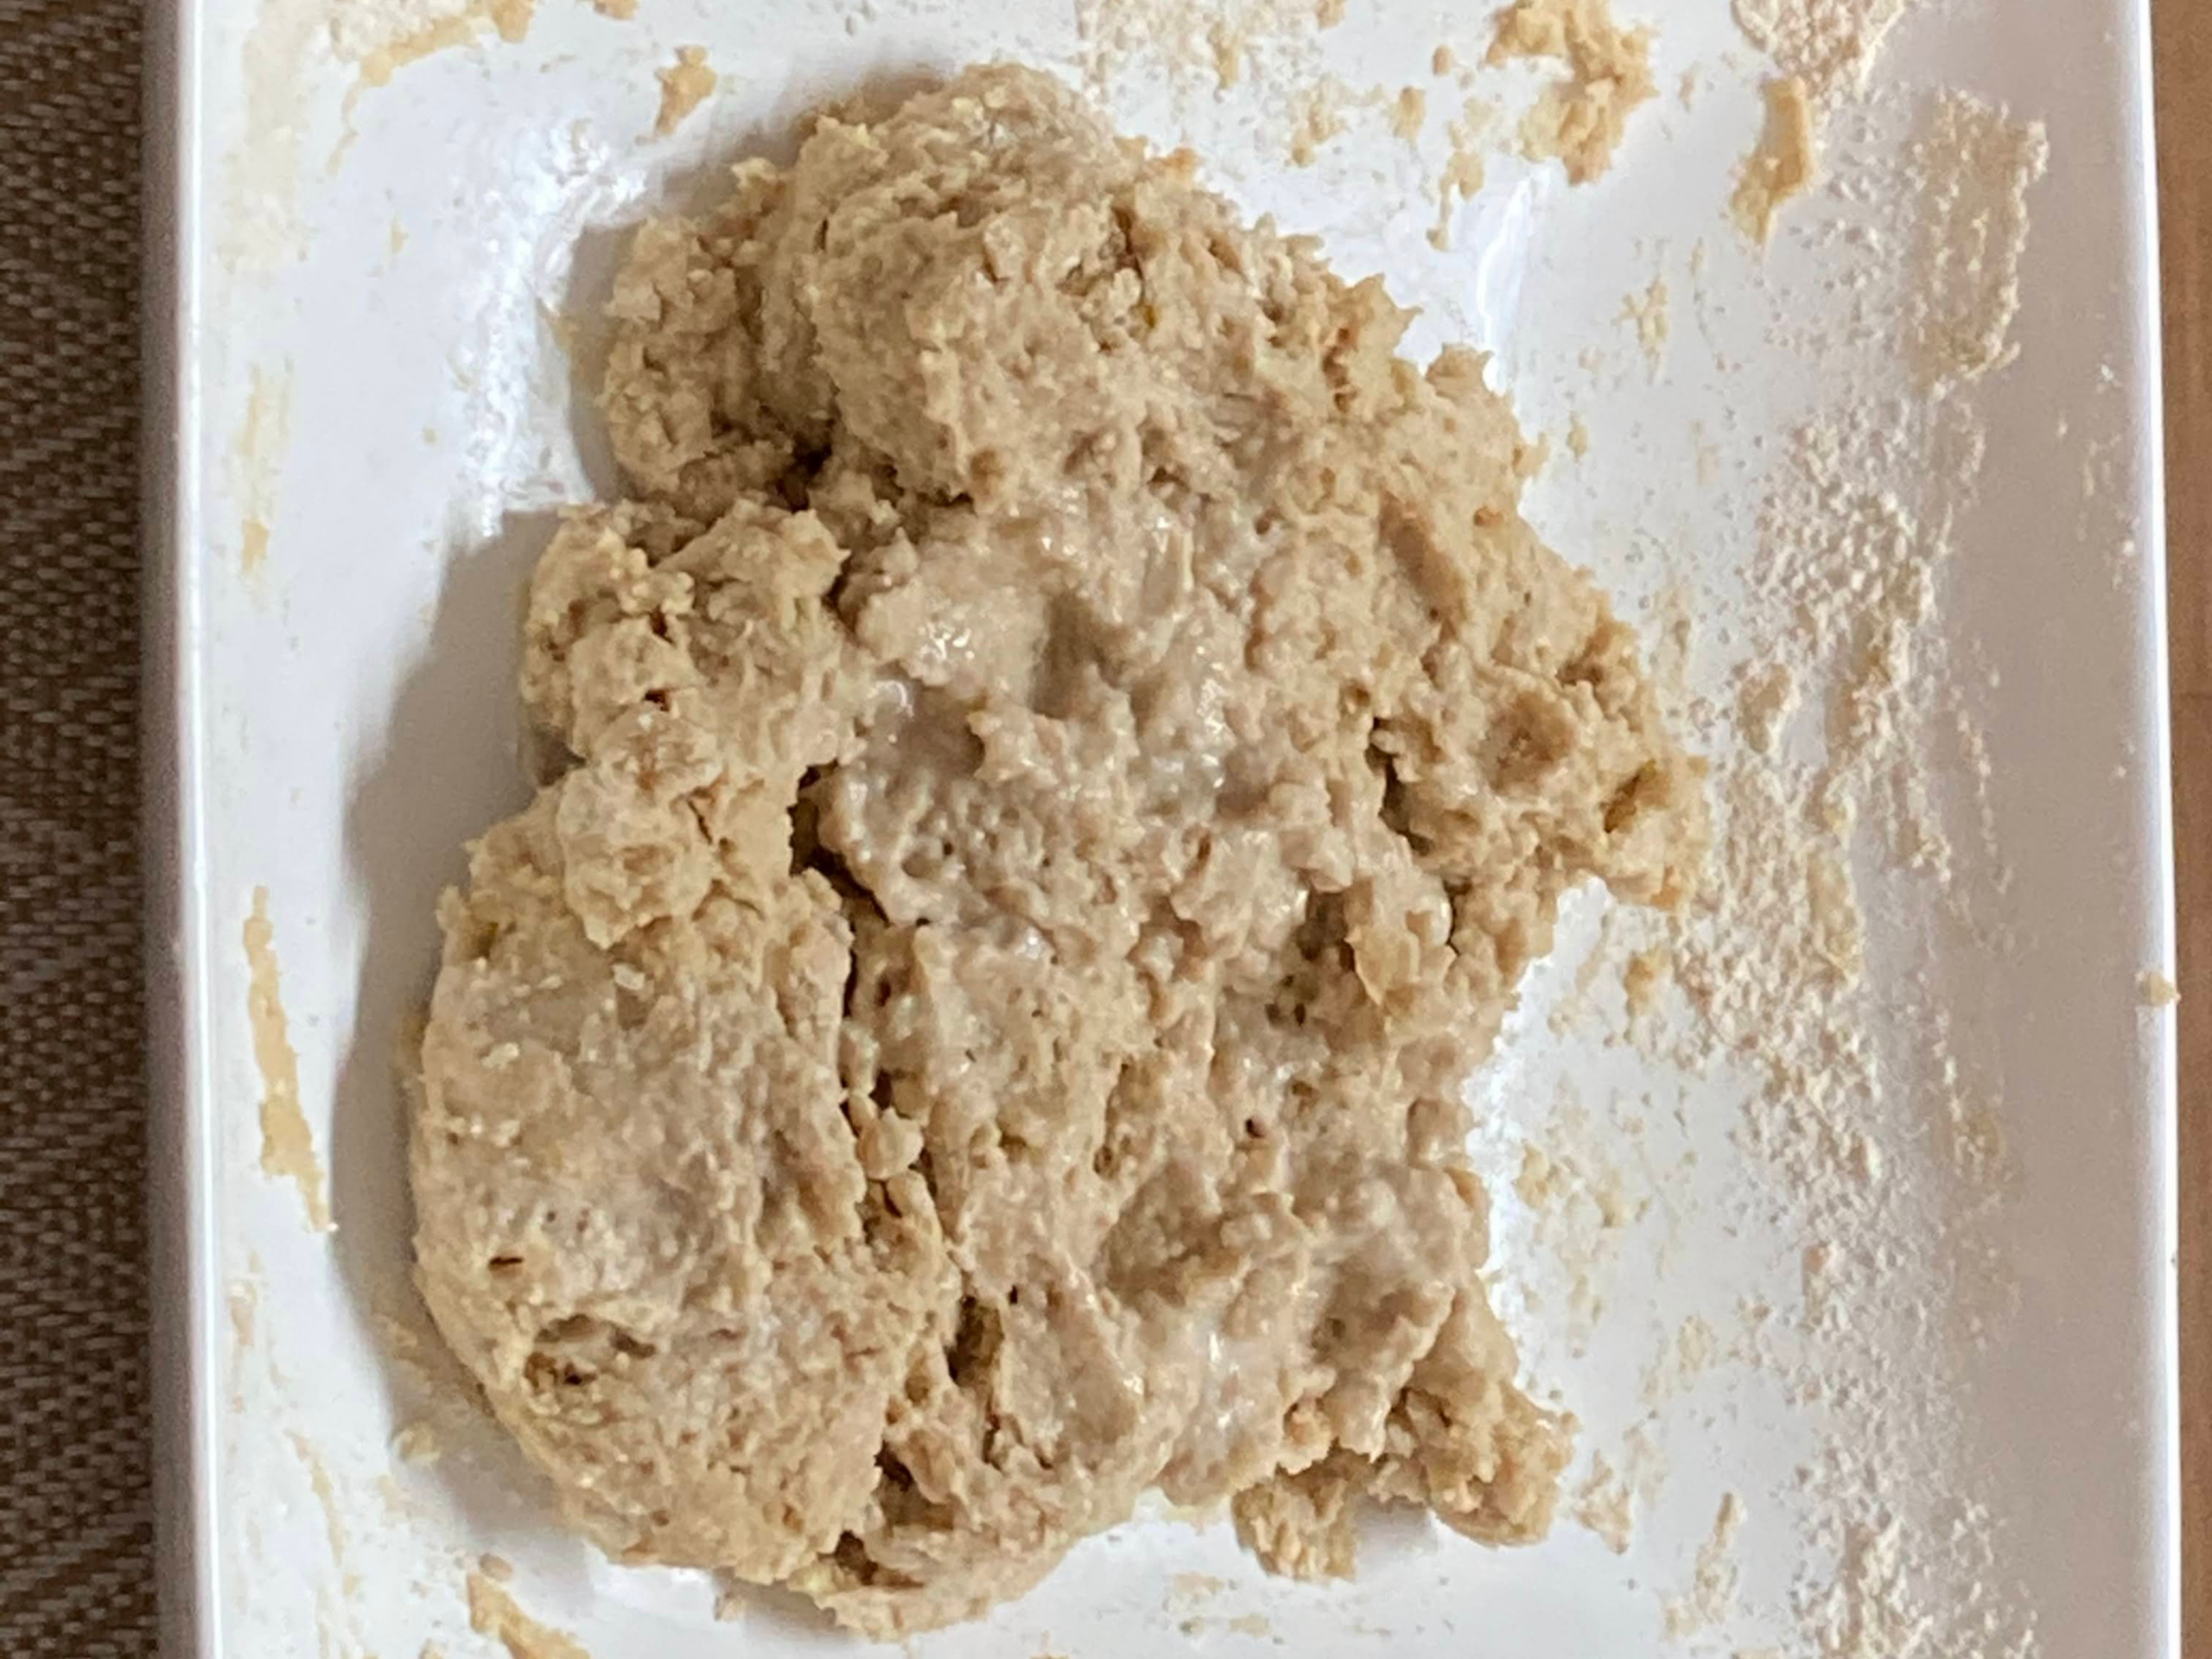
Step 3
Now knead well for 10 minutes or so. Enjoy the temporary mess – the dough will become more stable with the yeast feeding on sugars in the flour. Keep kneading. Many of our fellow bakers agree that they find the kneading process very therapeutic. You are with yourself for these 10 minutes and can chant, sing, weave a tale. Keep kneading the dough; resist adding flour. It will take shape. Keep kneading, stretching and folding it on itself (like folding a sheet of paper in half), for about 10 minutes for gluten to develop properly. Add some flour or olive oil to make the dough soft and smooth, as needed. It will become smooth over time. Keep at it.
Step 4
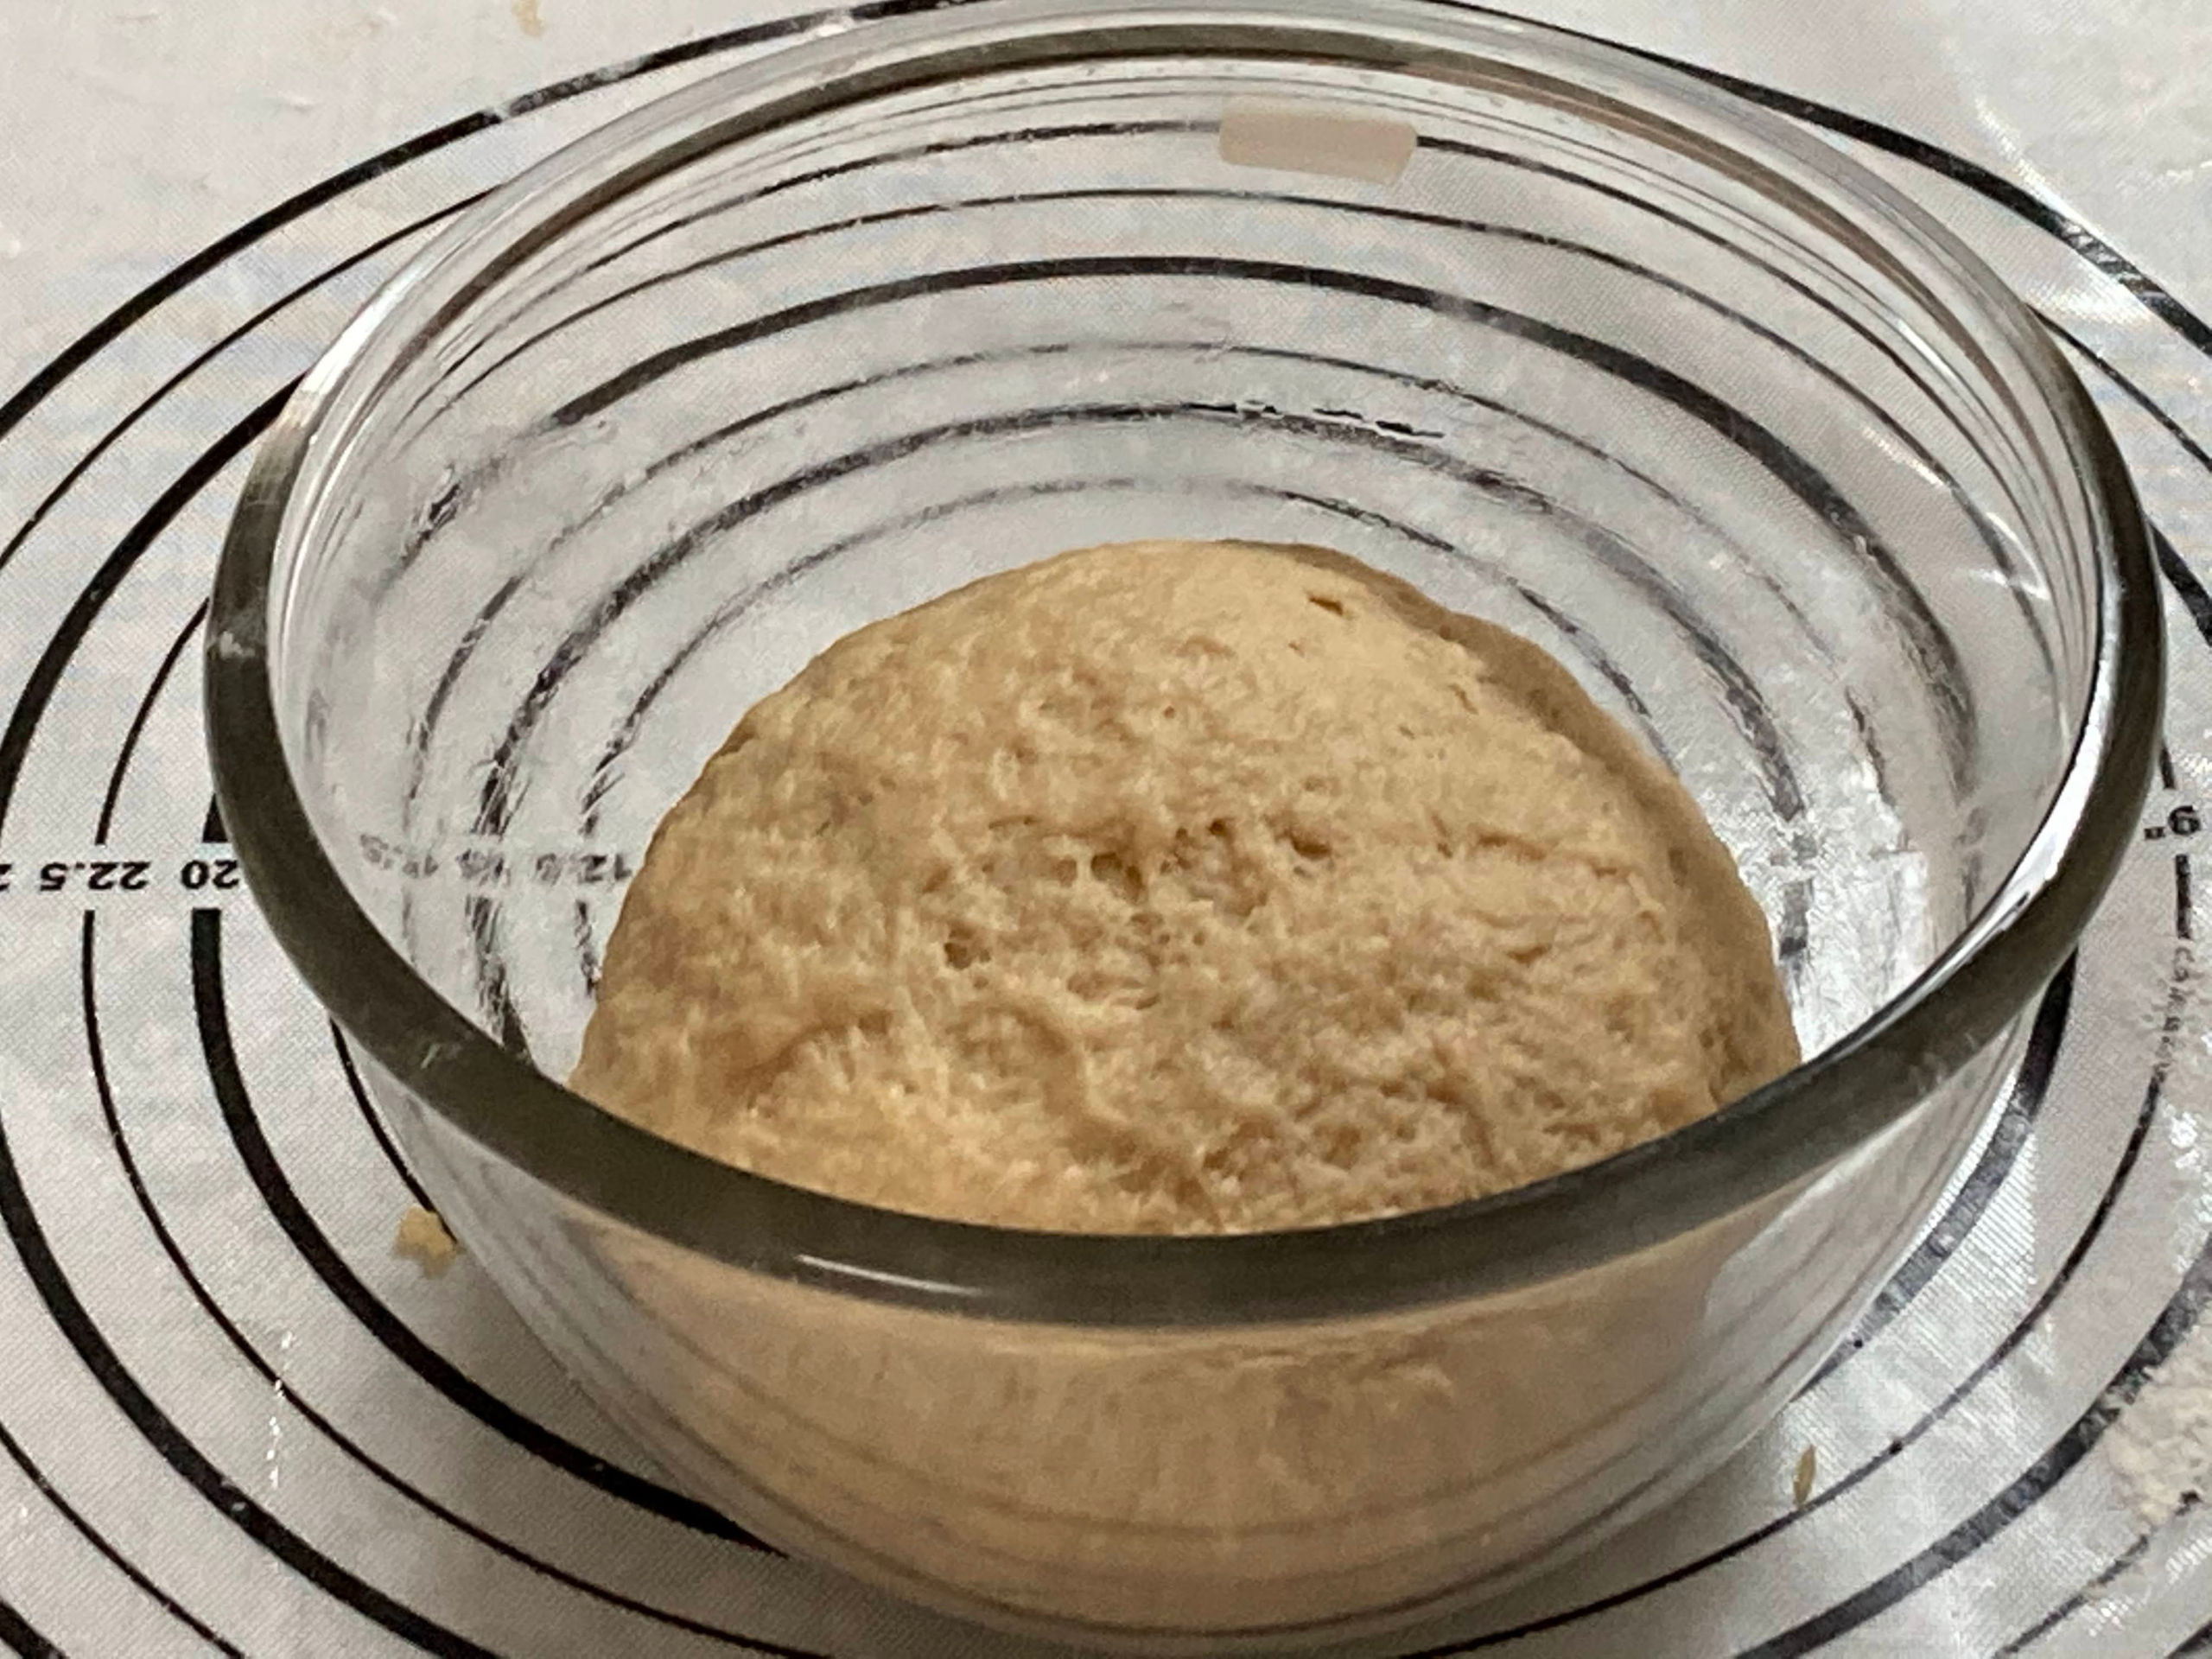
After the dough becomes smooth, start molding the dough in a large ball. As shown in the picture/clip, place the ball on the kneading surface and drag it towards yourself. Repeat this a few times. Many of you have asked about this. Place the dough on the mat, and drag it towards you. Place the ball in a large greased bowl (preferably a glass bowl). Cover and keep the bowl in a dark and warm place. The fermentation process will double the dough in size, so make sure your bowl is large enough. The dough should not over ferment (i.e. the dough should not rise more than double its original size, else it then sinks).
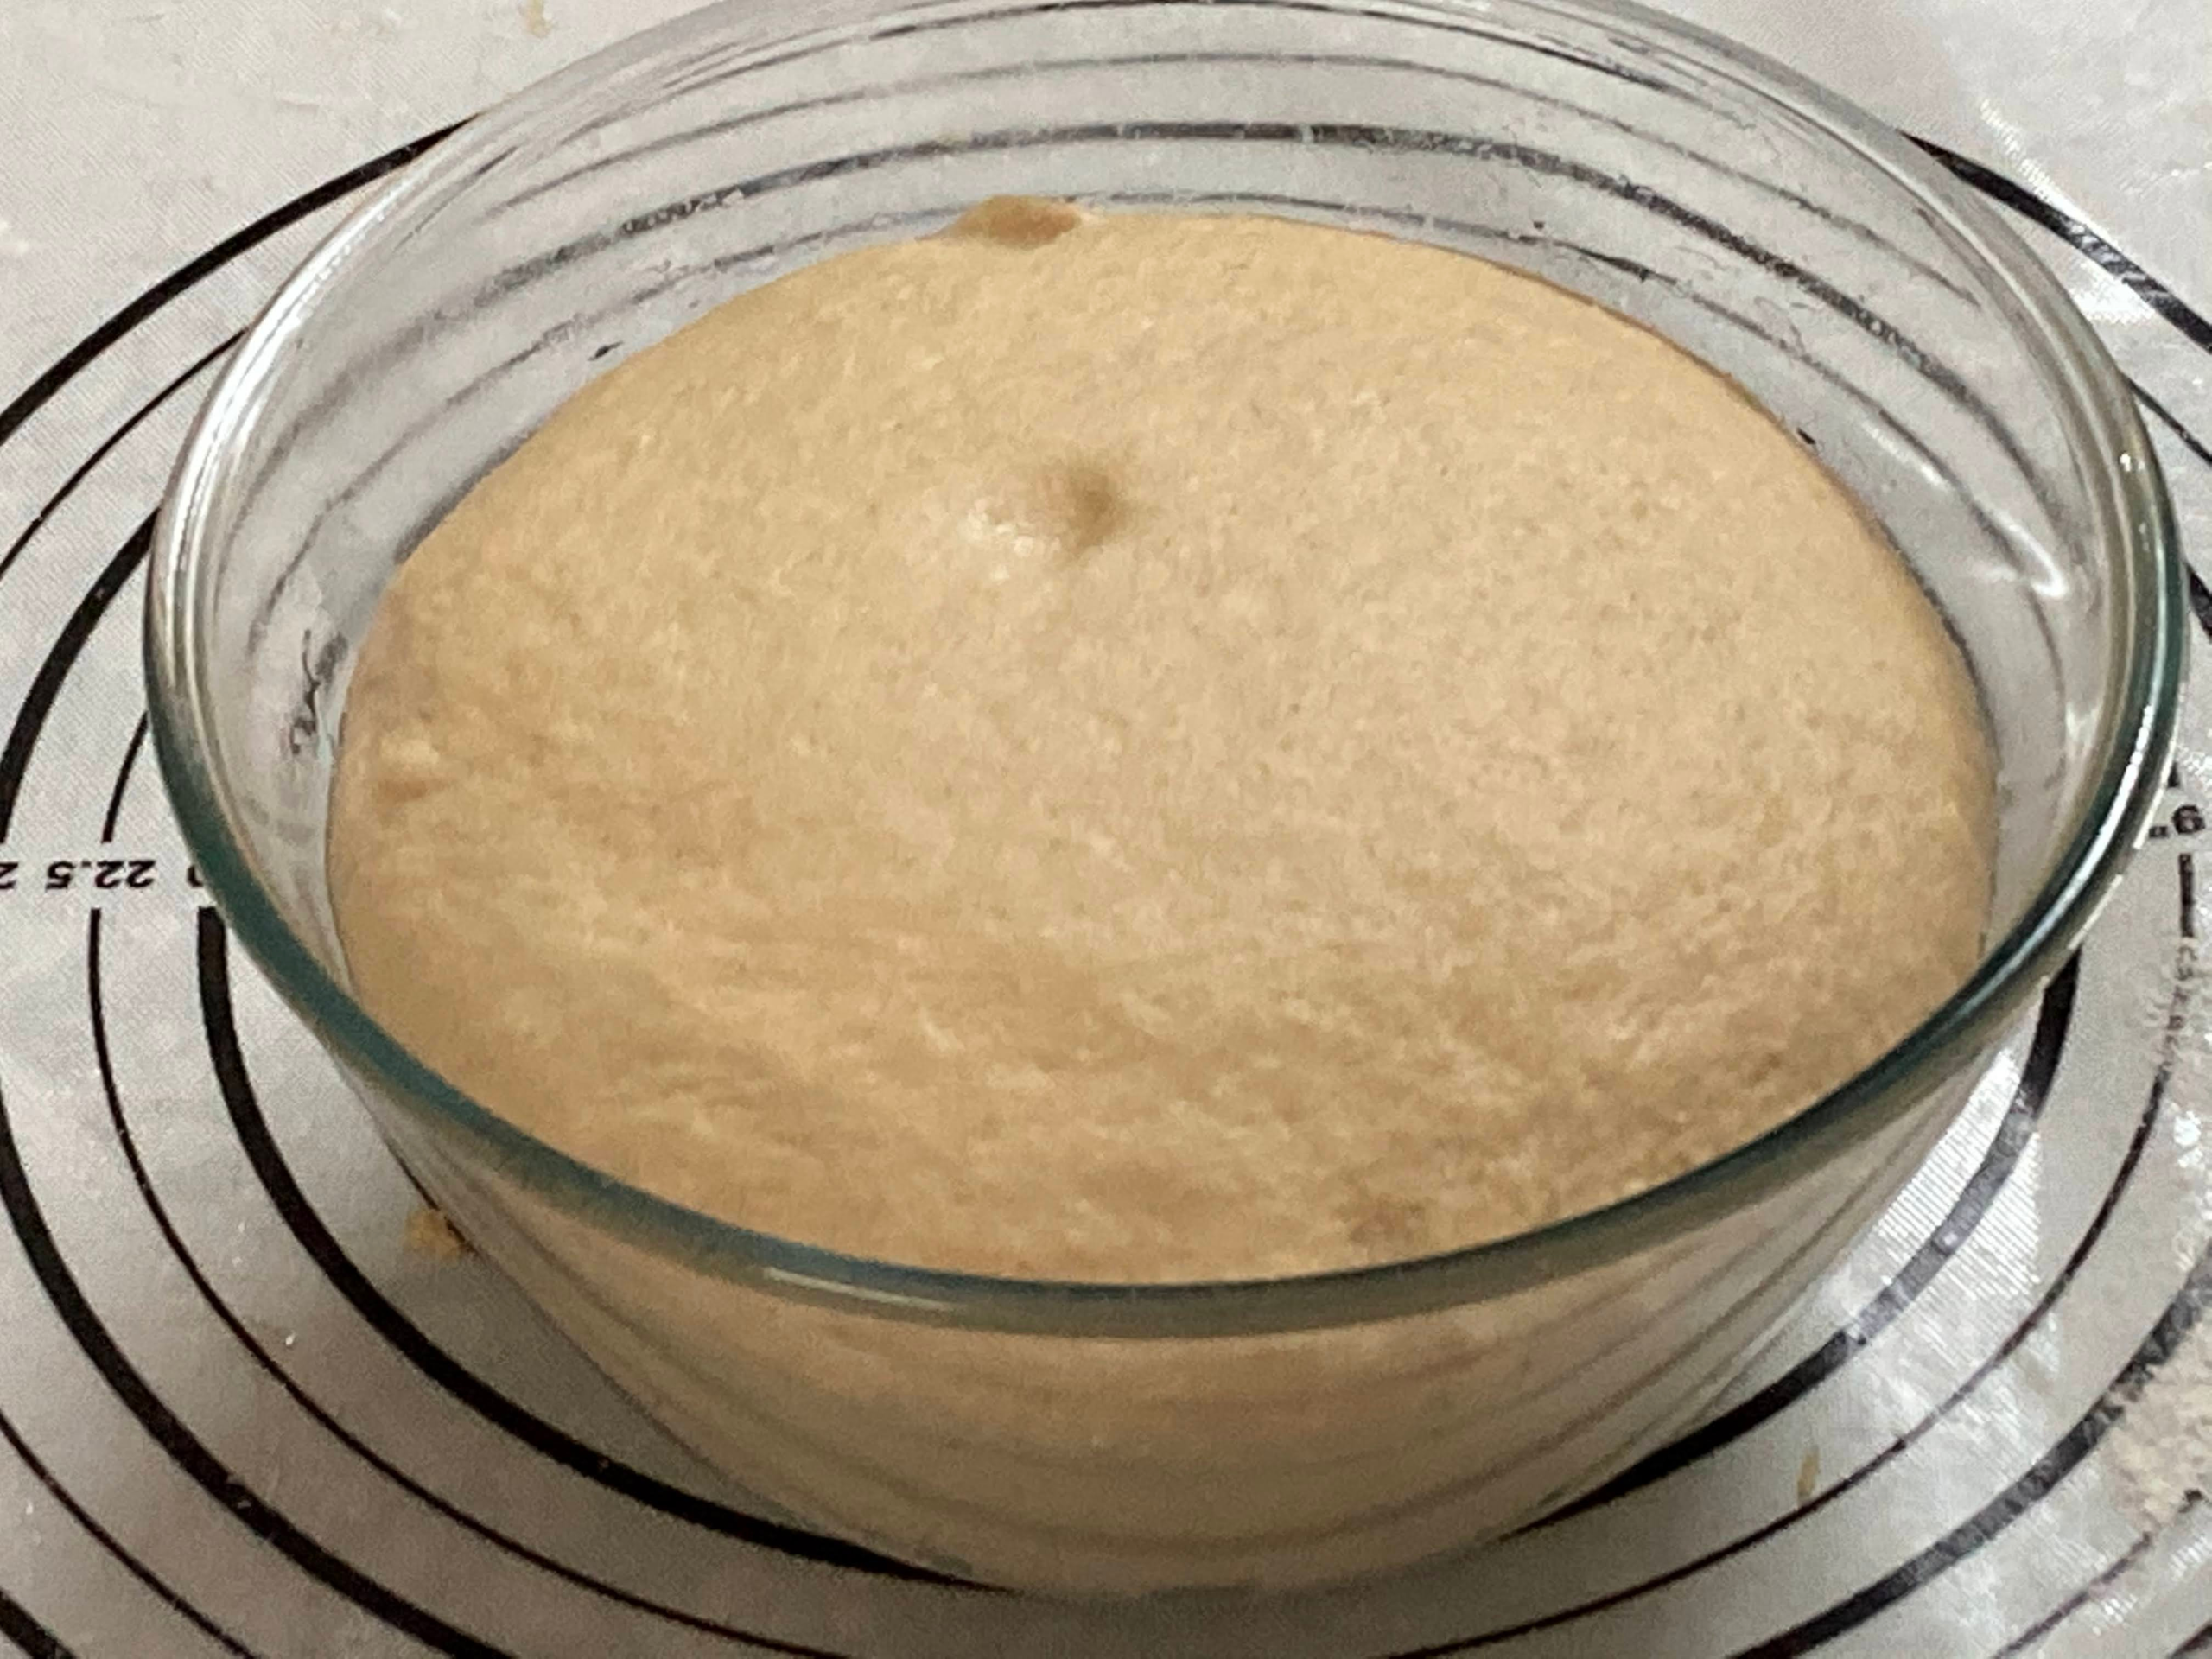
Step 5
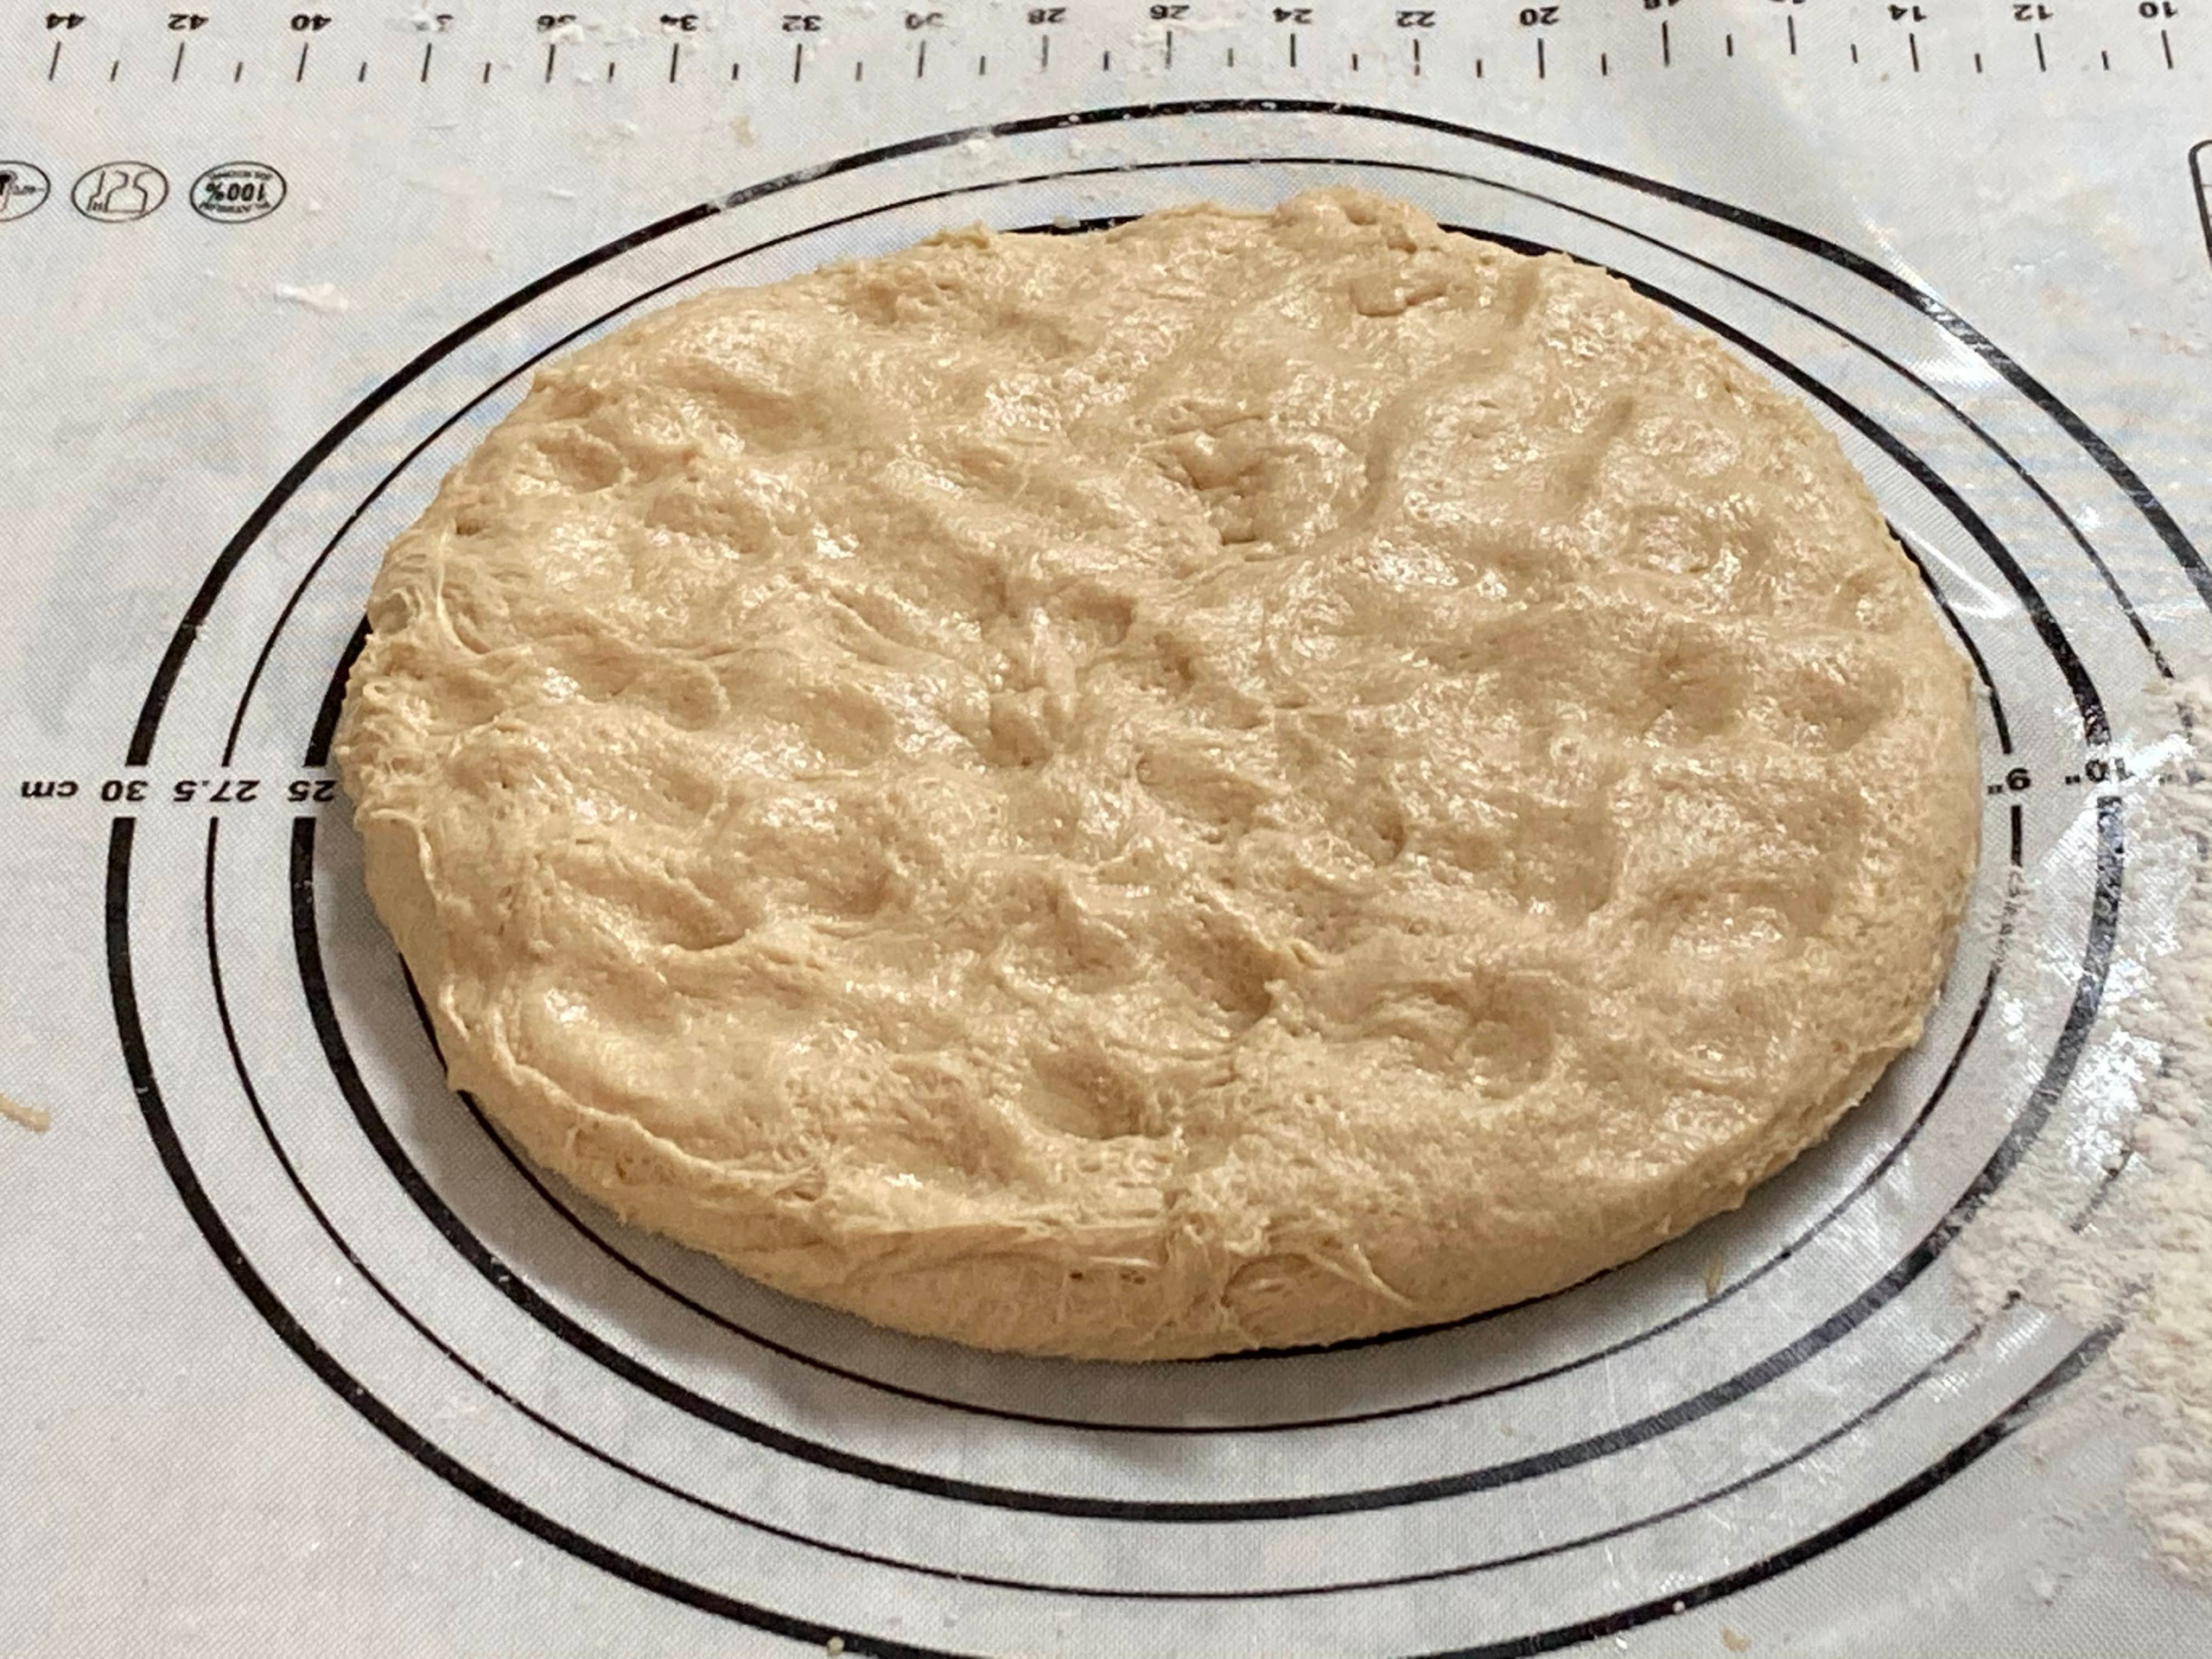
In my experience fermentation time in an Indian kitchen in warm weather would be around 45 minutes to 1 hour. In cool weather, it’s about 1&1/2 to 2 hours. Gently take the dough out from the bowl. Because of the greasing it should slide out. Do not pull it out else you disturb the activity of the yeast. Again, gently deflate the dough with your fingertips – I call it dimpling. Deflate very gently using your fingers.
Step 6
Once deflated, pull the dough from the edges towards the center, so that the smooth side is out (see the clip). Place it seam side down. Partition into smaller balls to make your buns. Collect into a large ball, seam side down.
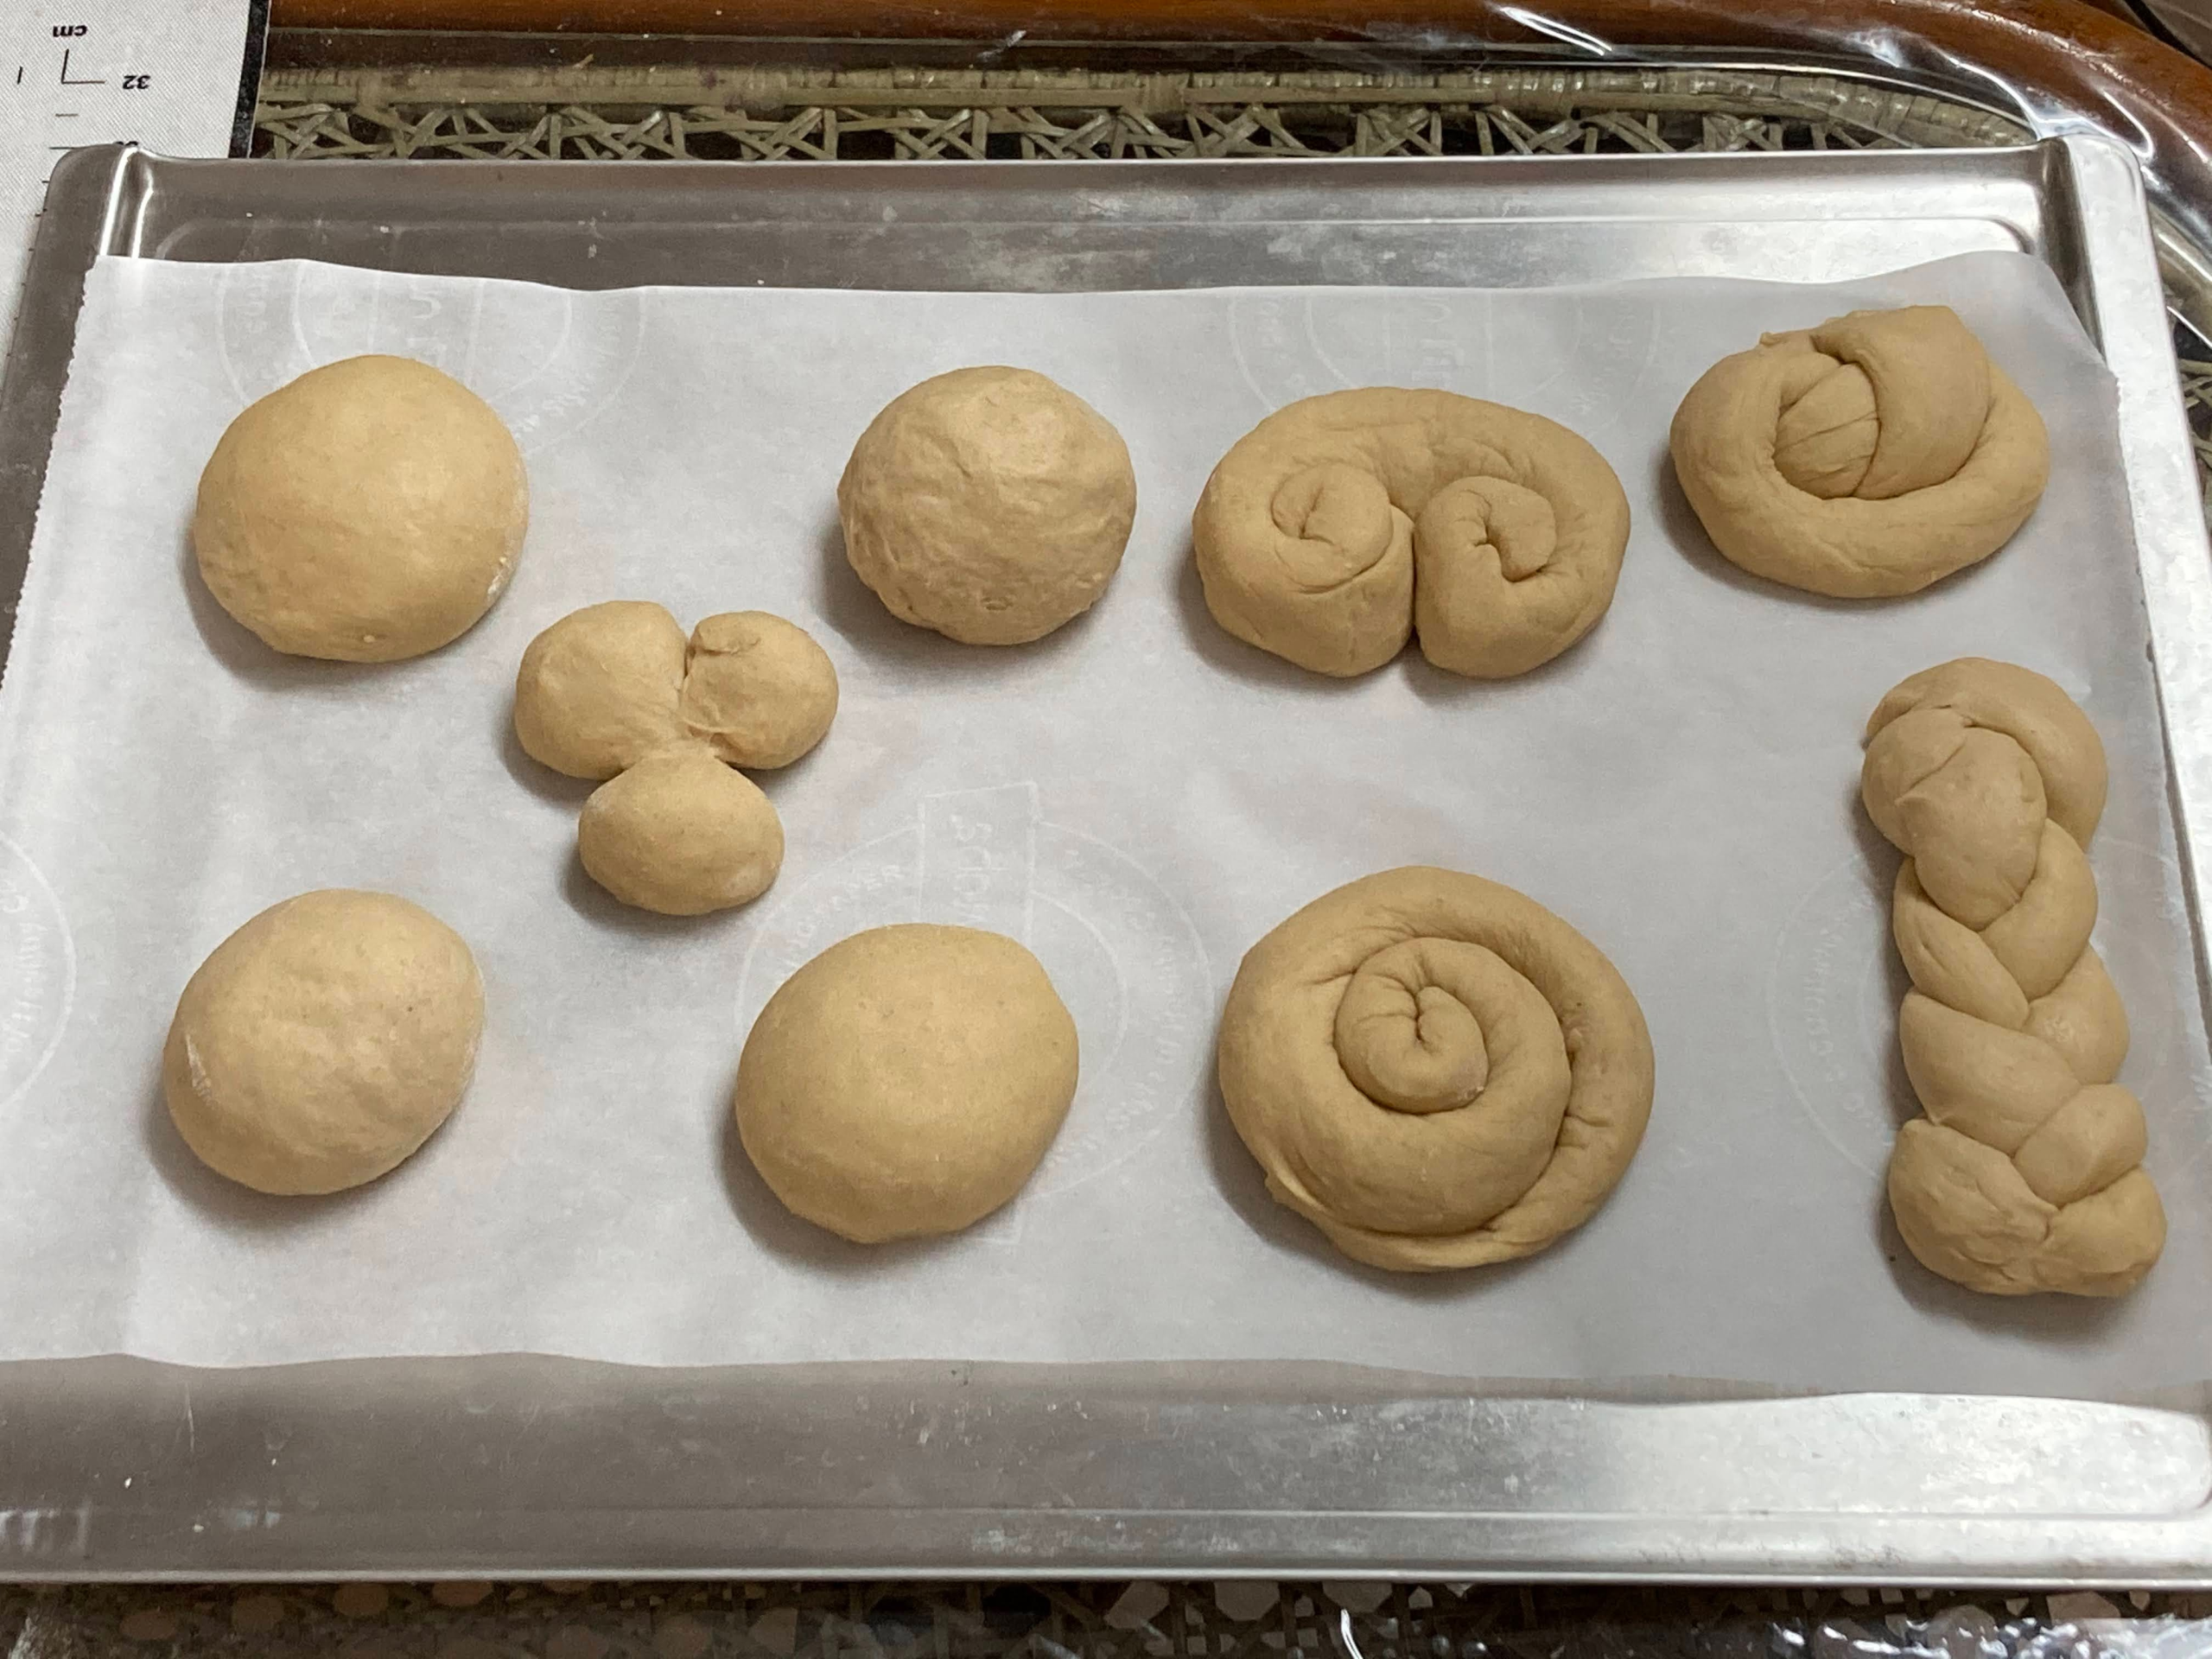
Step 7
To make a normal bun/pav, take a ball and roll in your hands (as shown) till it becomes smooth and all cracks/crevices disappear. Keep these aside for proving. Roll your bun! That is how you avoid cracks on the surface. You can also give other shapes to your buns. This is completely optional. To make a pretzel like shape for instance, begin by stretching and rolling a small amount of dough by hand, till it’s about 15-20 cm long. Then, proceed to tie a knot with the dough, and keep aside for proving. Make a Pretzel shape. As always, prove for about 30 minutes.
Step 8
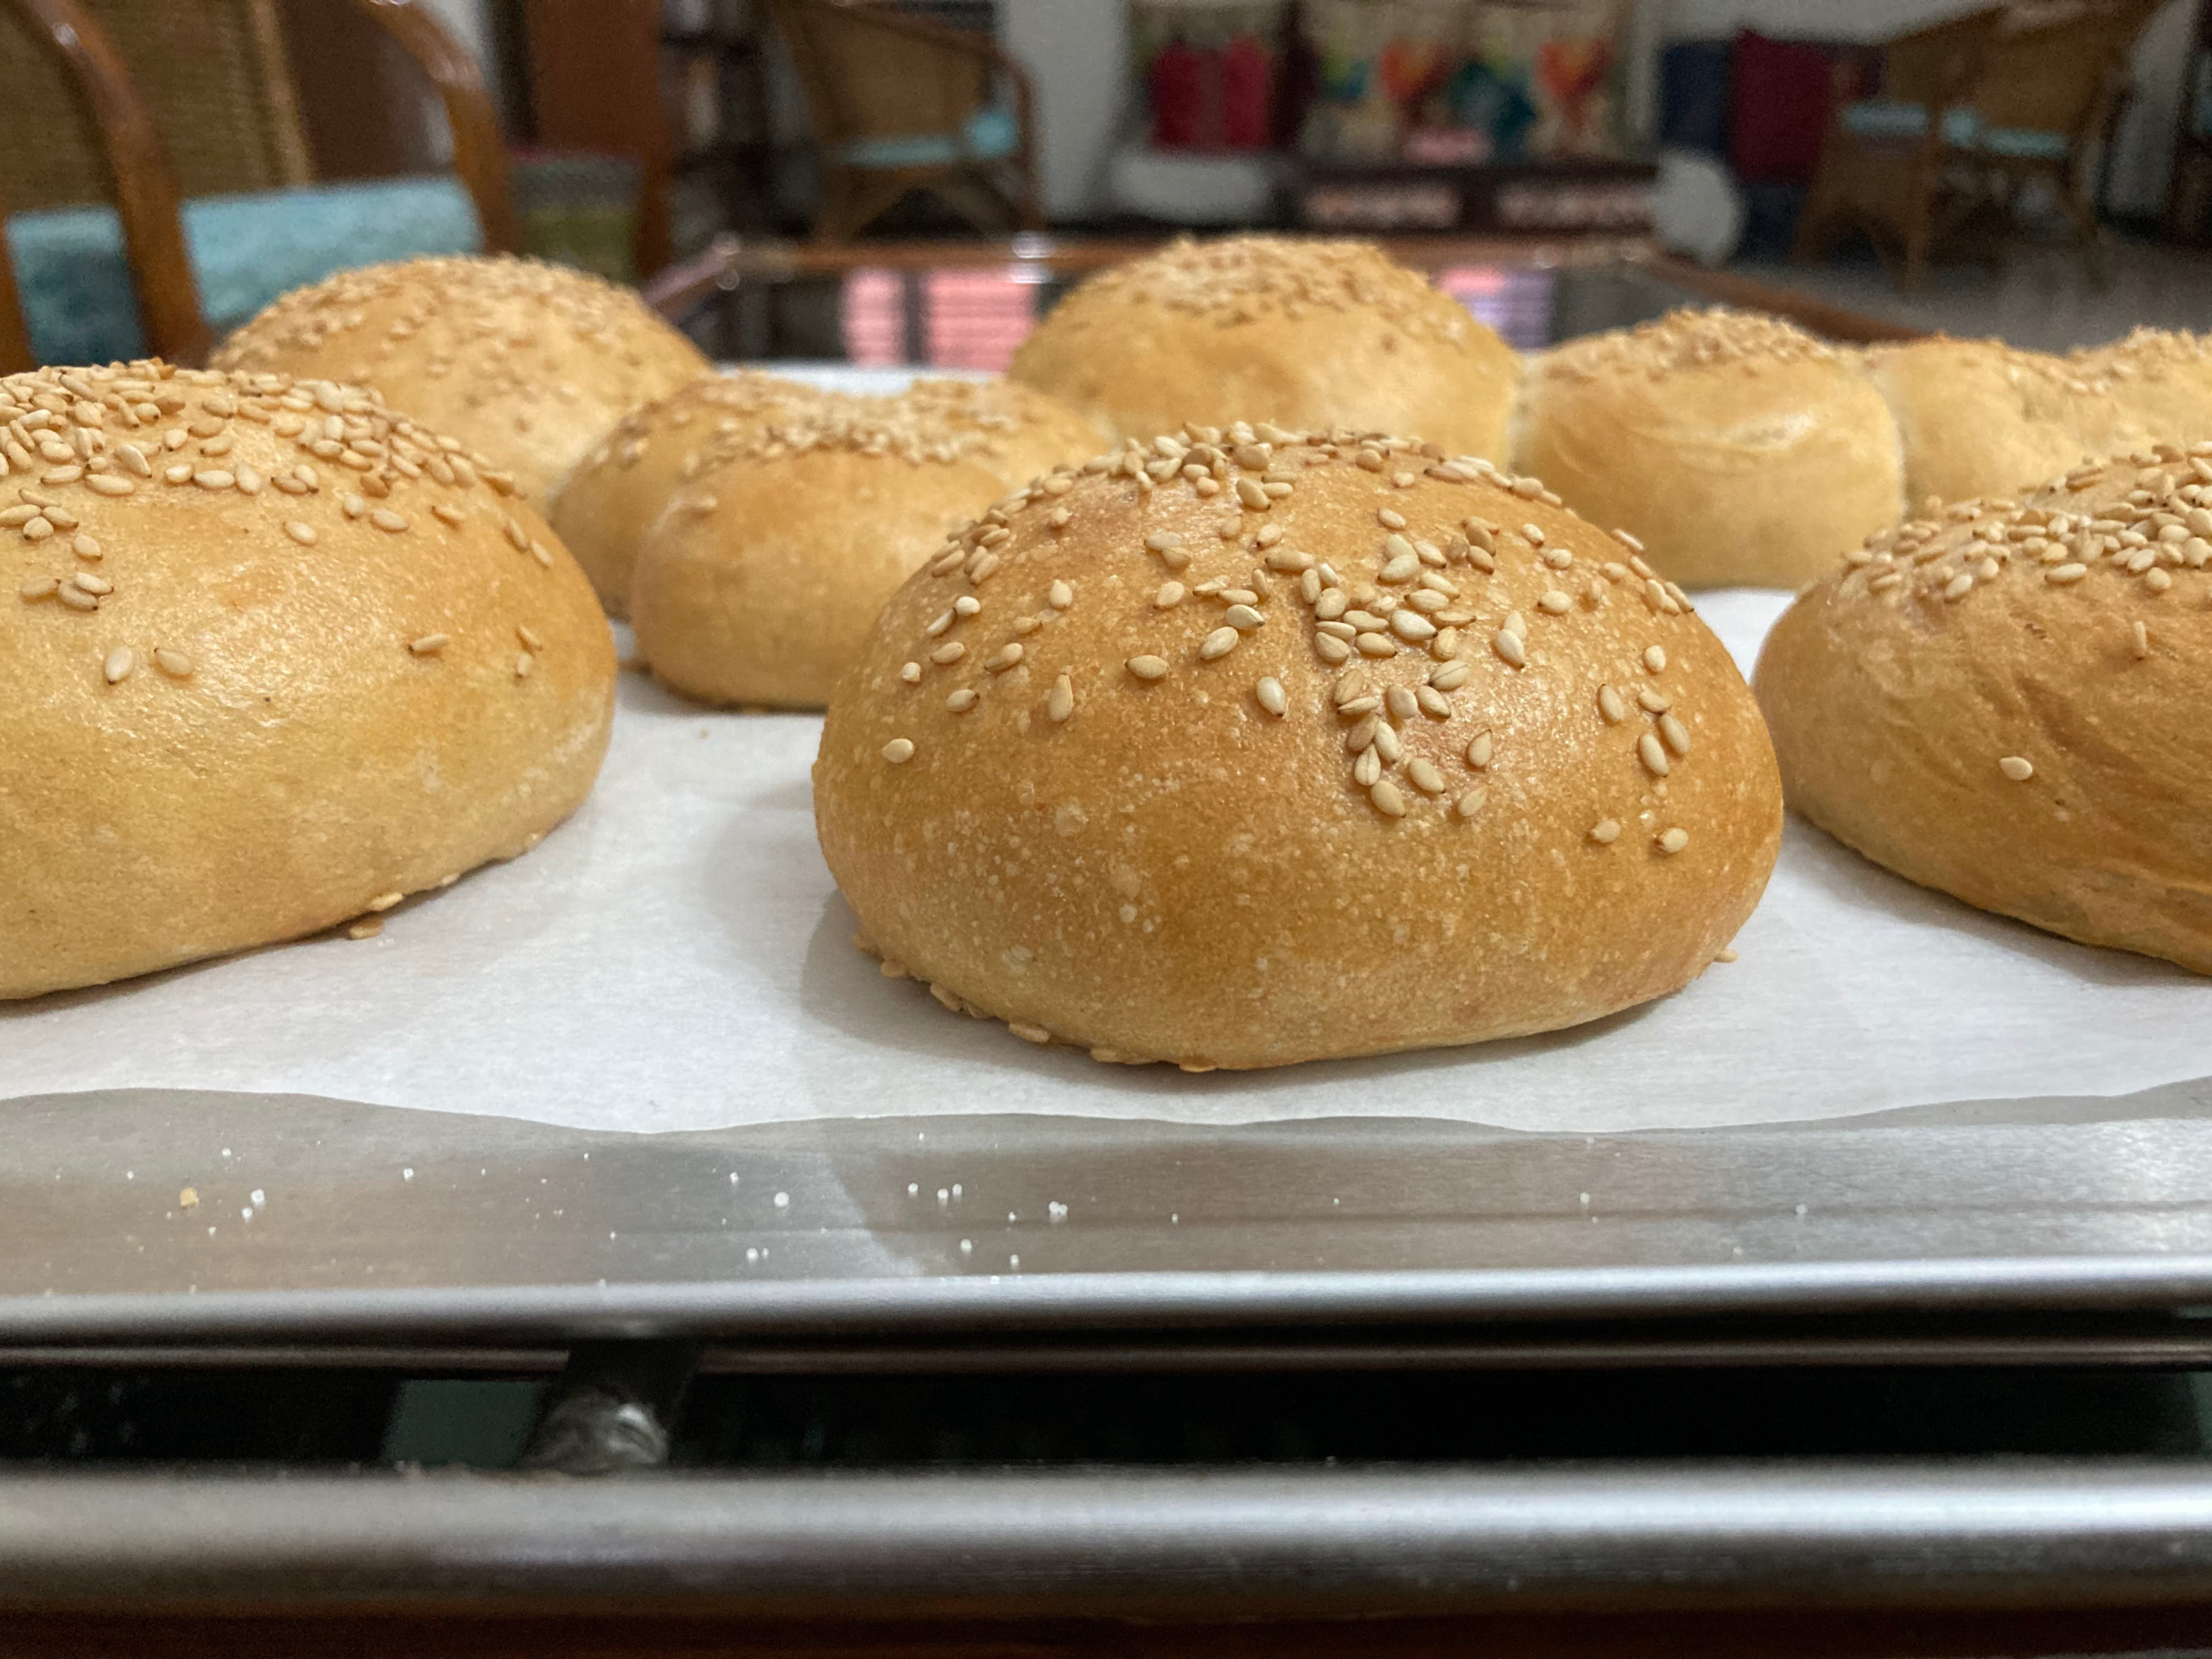
Prepare an egg-wash: mix a whole egg with water or milk. If you do not want the yolk, egg-white can also be used. The egg-whites in the egg add to the shine of the bun; the yolk gives it that distinctive golden color. For those who’d like to avoid eggs, butter or milk can be used. I sometimes sprinkle sesame seeds before baking. Buns are already shining!
Step 9
Bake at 180 to 190 degrees for 20 minutes. Cover for the last 5 minutes with foil. You can also brush with butter towards the end..
Baker’s Tips
stuffed buns
Make a simple stuffing of shredded cheese, oregano, chilli-flakes, salt and pepper. Then stuff in the bun dough, and shape into a ball for proving.
Stuffed buns are also easy!
And that’s it!
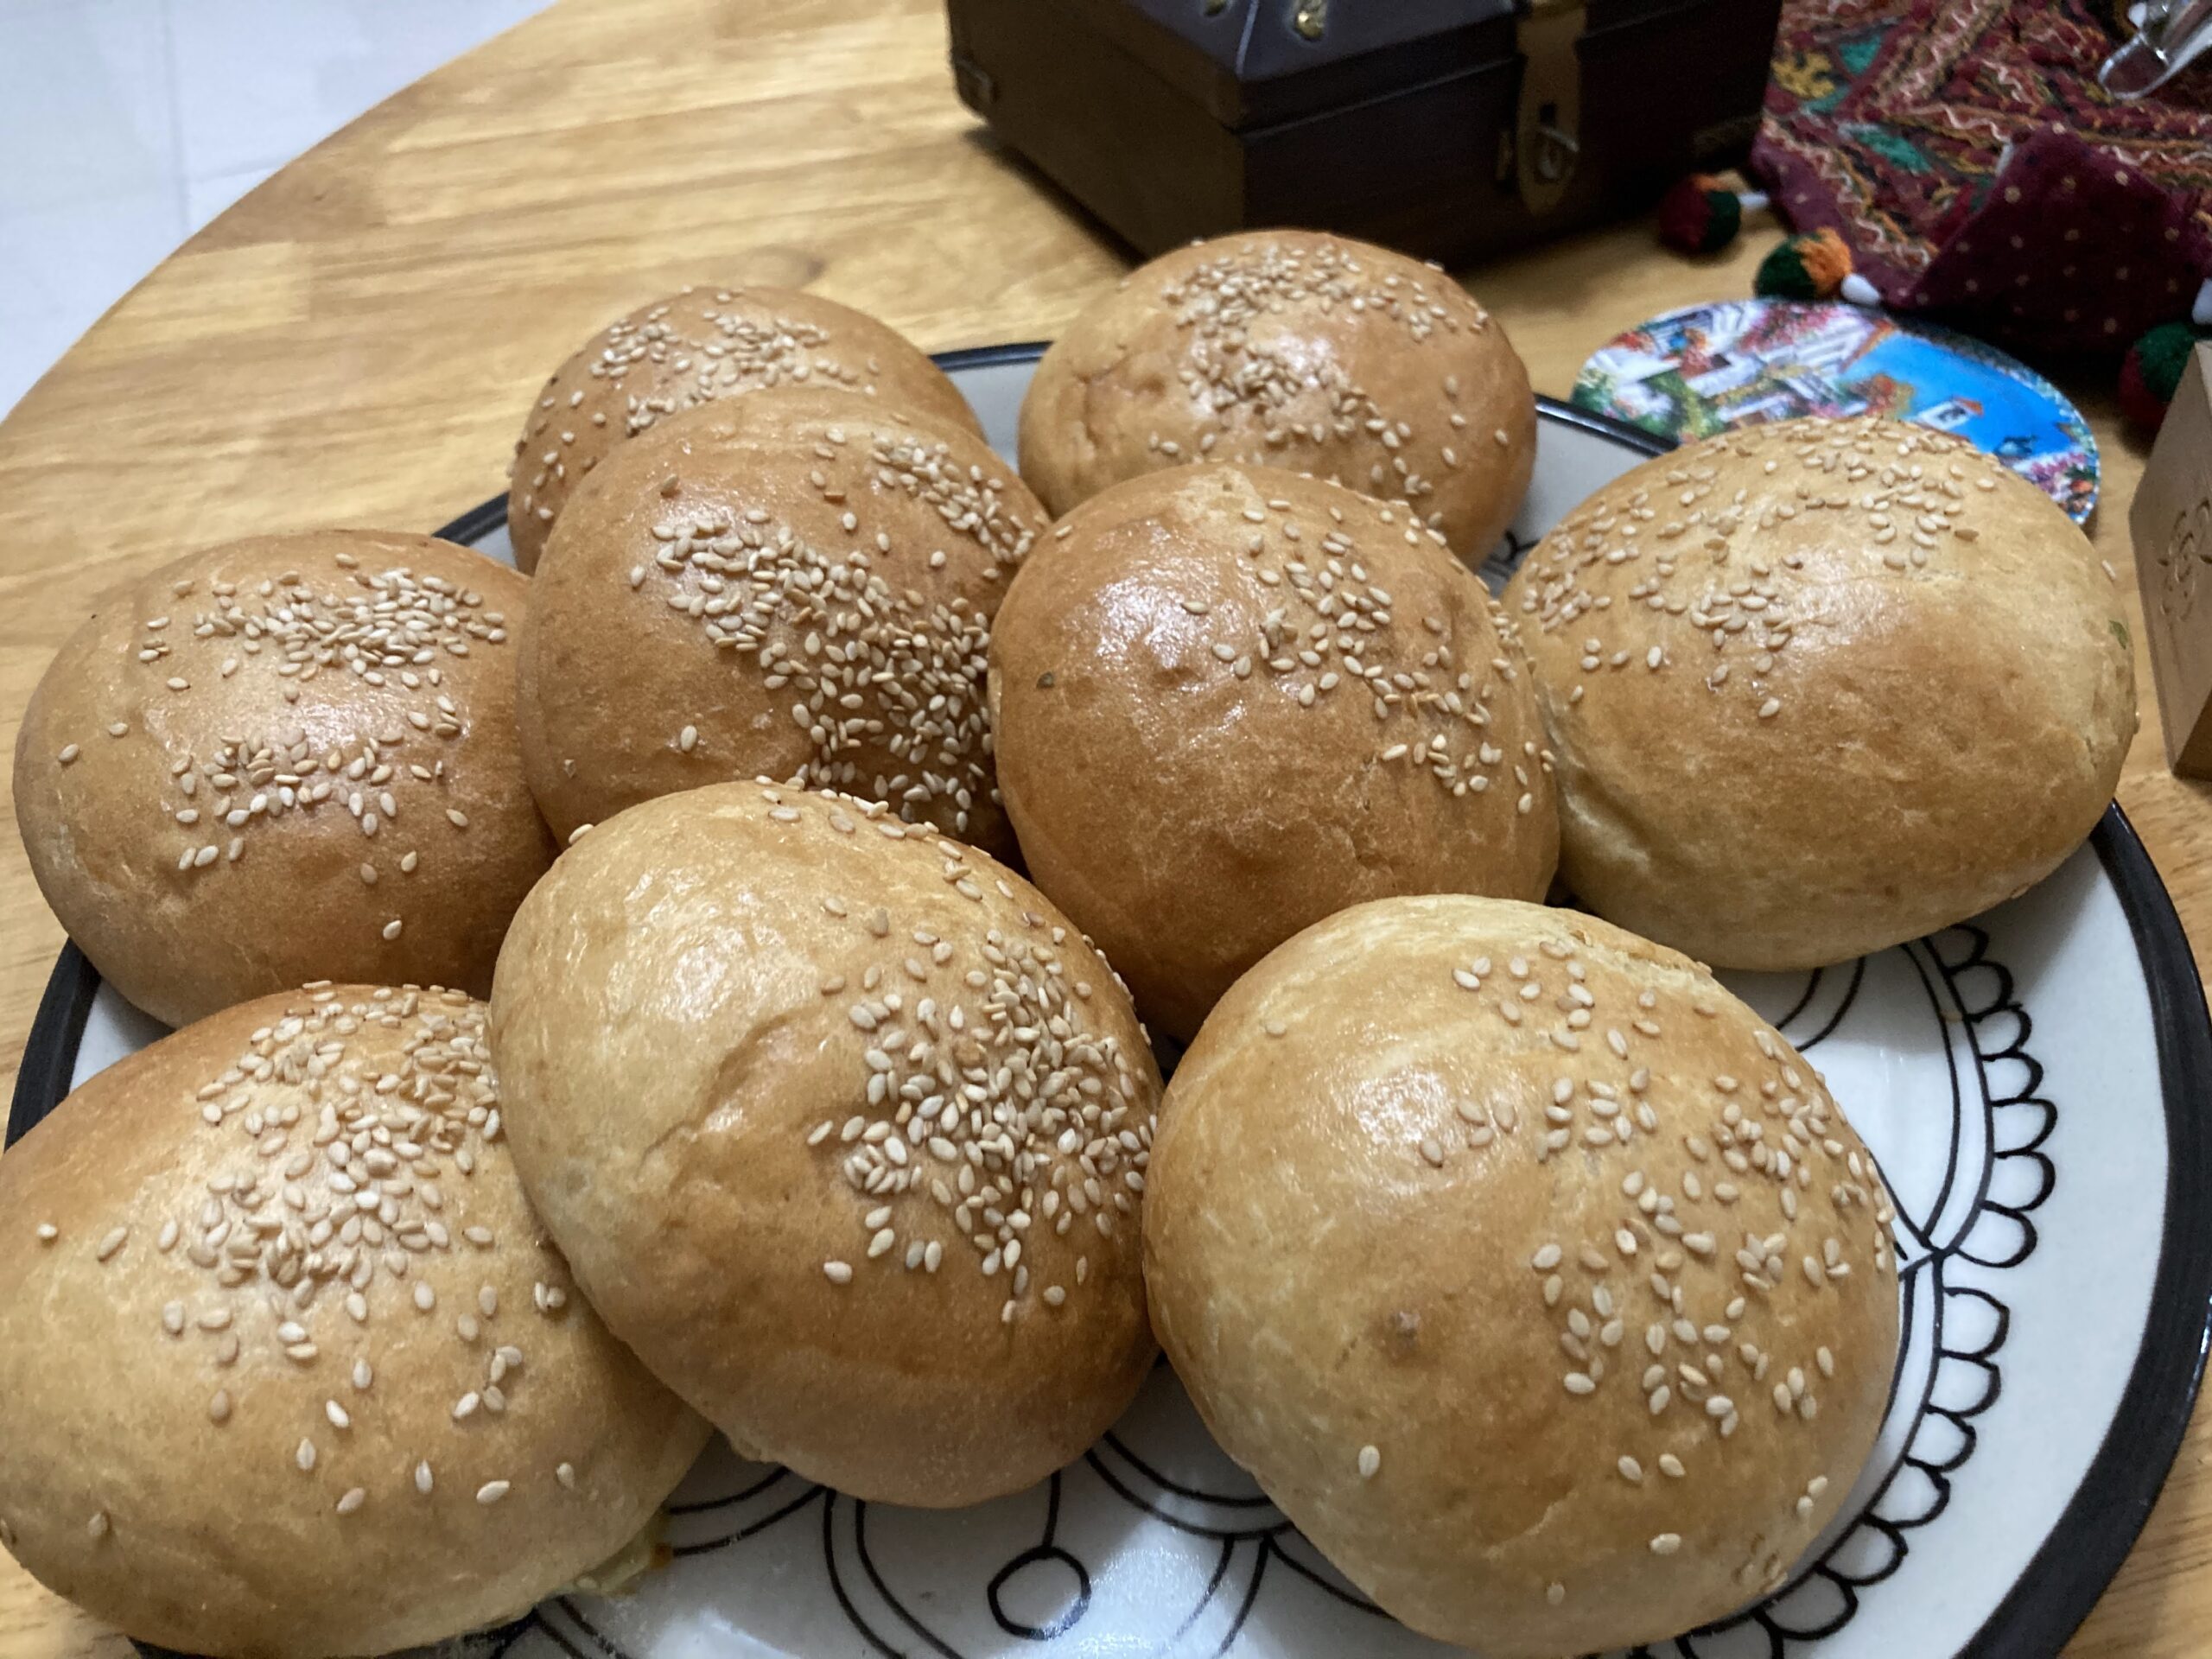
You can easily make around 10 buns in a tray. And the combinations are endless. Any type stuffing (grilled onions, paneer, etc.) goes well. Eat with jams, chutney, vadas, or just plain butter too!
Do try this over the weekend. If you face any issues, leave a comment. And let me know if the short clips were helpful.
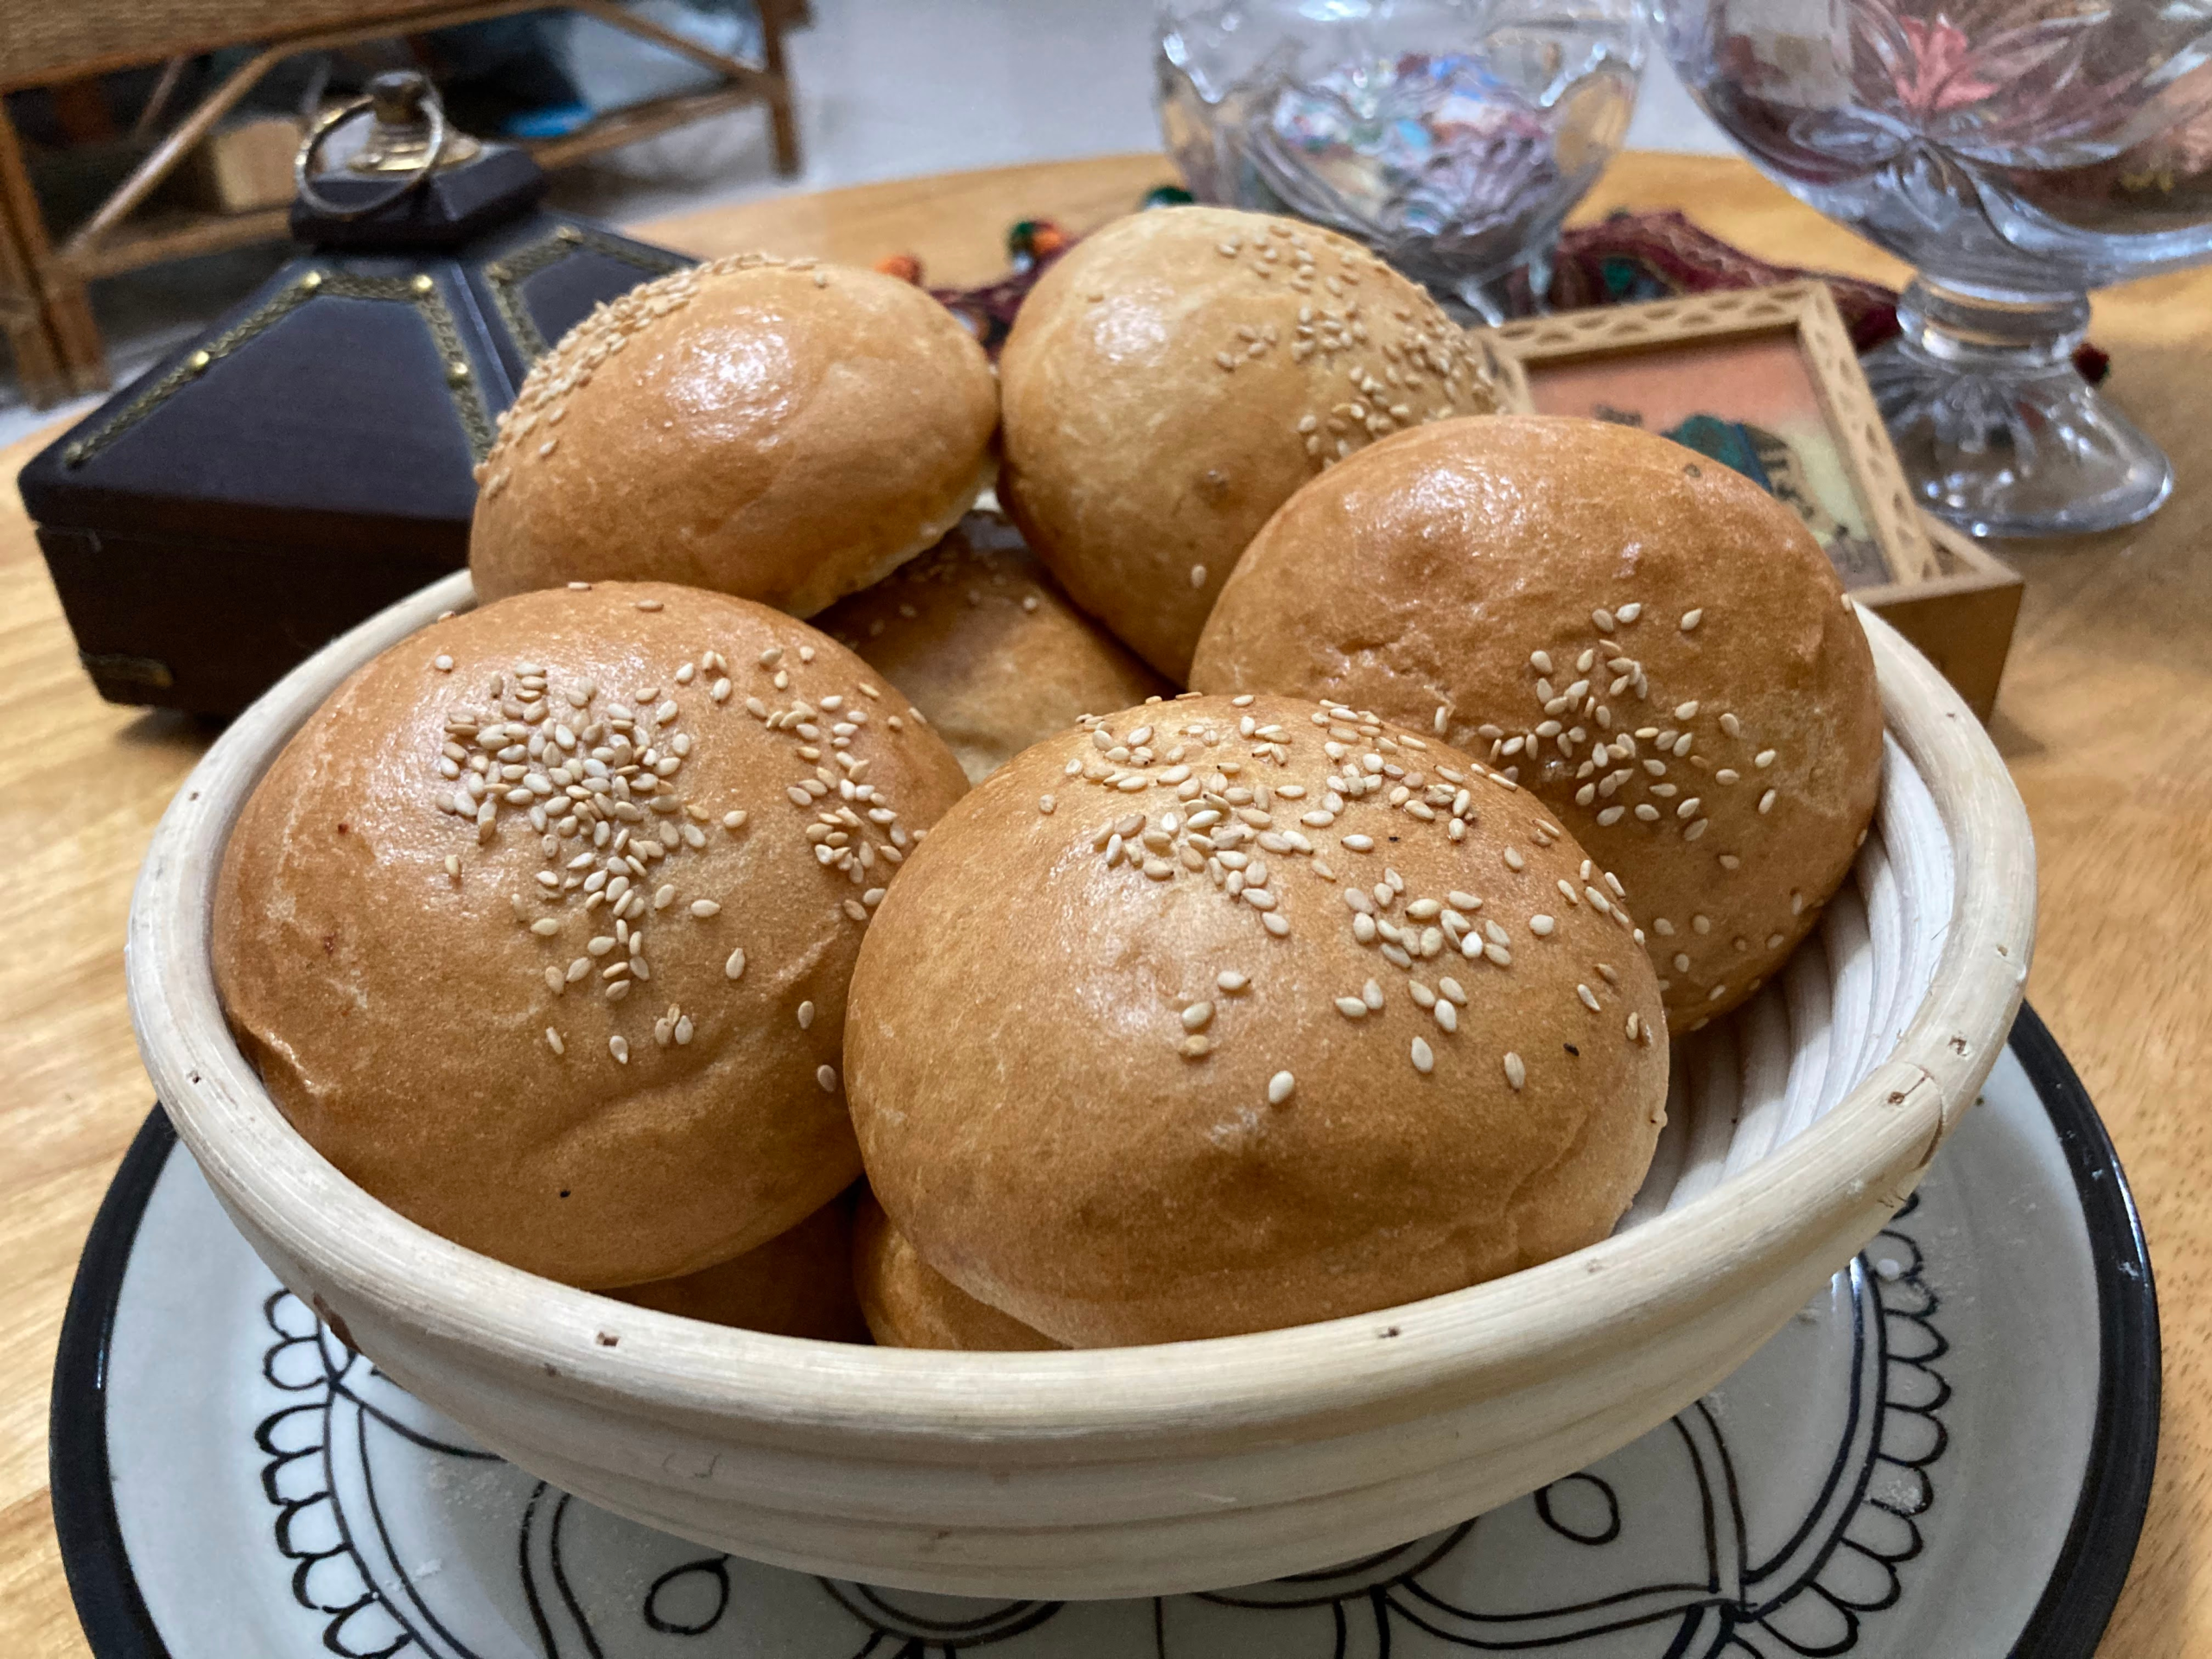
Golden sesame buns! Baked fresh in your home!