

The Basic Bread- ONLY with three ingredients.
Prep. Time
15 minutes
Total Time (Approx.)
1 hour and 40 minutes
Let’s talk about Flour
Professional bread recipes mention a variety of flours: Bread flour, AP flour (All purpose flour), Rye flour, Spelt flour, Plain flour and so on. In India, most of these are hard to find and are expensive.
FYI, Bread flour, AP flour (USA), Plain flour (UK), Flour type 550, 1050 and 1600 (Germany),T65, T55etc. are all based on the protein content. It is the type of wheat (i.e. hard or soft), the season of crop (winter or spring) and the milling process, that separates them. Bread Flour and Flour type 1050 are made from hard wheat. They have the highest protein content (12% to 14%) and are best for breads. The high protein content results in good structure and texture. All Purpose (AP)flour and Plain flour have slightly less protein content (10% to 11%) and are good for other bakes like cookies, cakes, breads, pies etc. Some bakers add wheat-gluten to the all purpose flour to make it stronger for breads. These flour types are commonly used in the western countries. Ideal for cakes and soft bakes is Cake Flour which has even less protein.
The flour we use for breads is important because the texture, structure and flavor of our breads depends on it. We can use a single type of flour or mix several types of wheat flours with different grains such as rye, spelt, even millets, oats (in limited quantity) for our breads. Like most home bakers, I too didn’t know about much these flours and have never used them. Since we primarily use wheat flour & refined flour, these will be the flours we will be using.
Whole Wheat Flour
This is the healthier option, because it has micro nutrients, fibre, vitamins, proteins and minerals that come from the bran and germ in wheat. For my recipes I prefer atta, the whole wheat flour which we use in our chapatis, because of its several health benefits. Some varieties of wheat in India like Sona Moti, Lokwan, Sharbati and some varieties developed by Agricultural Research Institutes in India like- Purna, Pusa Yashasvi, Karan Vandana etc. have high protein which is good for breads.
Maida/ strong unbleached bread flour is also made from wheat, but is super-refined by an iterative milling process/ bleaching ? that removes all the fibre, proteins, minerals, vitamins and antioxidants. As the bran and the germ are removed, only the endosperm is left, which has a lot of starch and very few nutrients and fibre. However, it gets denatured because of heat produced during the milling process. In India, home bakers and most bakeries are using Maida because its high extensibility and stretchability are desirable qualities for a variety of Indian pastries and baked goods. Maida/ strong unbleached bread flour can be substituted by good Bread flour or AP flour, else some fibre and seeds may be added to the bakes for nutrition.
For the Basic Bread recipe we will use wholewheat flour, which can be purchased easily from any store or the regular atta you use at home. You can also try Slow Milled Flour which is very nutritious.
Water
Yeast

Ingredients

Instructions

Baker’s Tips
Ingredients
Standard Ingredients
- Wheat flour – 3&1/2 cups (400 grams)
- Water – 1&3/4 cup and some more (450 grams)
- Yeast – 2&1/4 tsp (7 grams)
Ingredients for New bakers
- Wheat flour – 2&1/2 cups (290 grams)
- Maida -1 cup (110 grams)
- Water – 1&3/4 cup and some more (440 grams) or water and milk mixture 50:50
- Yeast – 2&1/4 tsp
- Sugar/jaggery – 2 tsp
- Salt – 1 tsp
- Oil – 2 tsp
- Lemon juice – 1tsp
- Baking soda – 1 pinch
A note for new bakers.
The dough with the Standard Ingredients might be a bit difficult to handle. Don’t worry though It’s all part of the process. I’ll explain more in a different post, but the extra ingredients will make the dough easier to work with.
Instructions
Step 1
Mix all the dry ingredients except yeast and sift the flour well as aeration helps in baking good structured breads. Do not add salt now. We will add it later.
Step 2
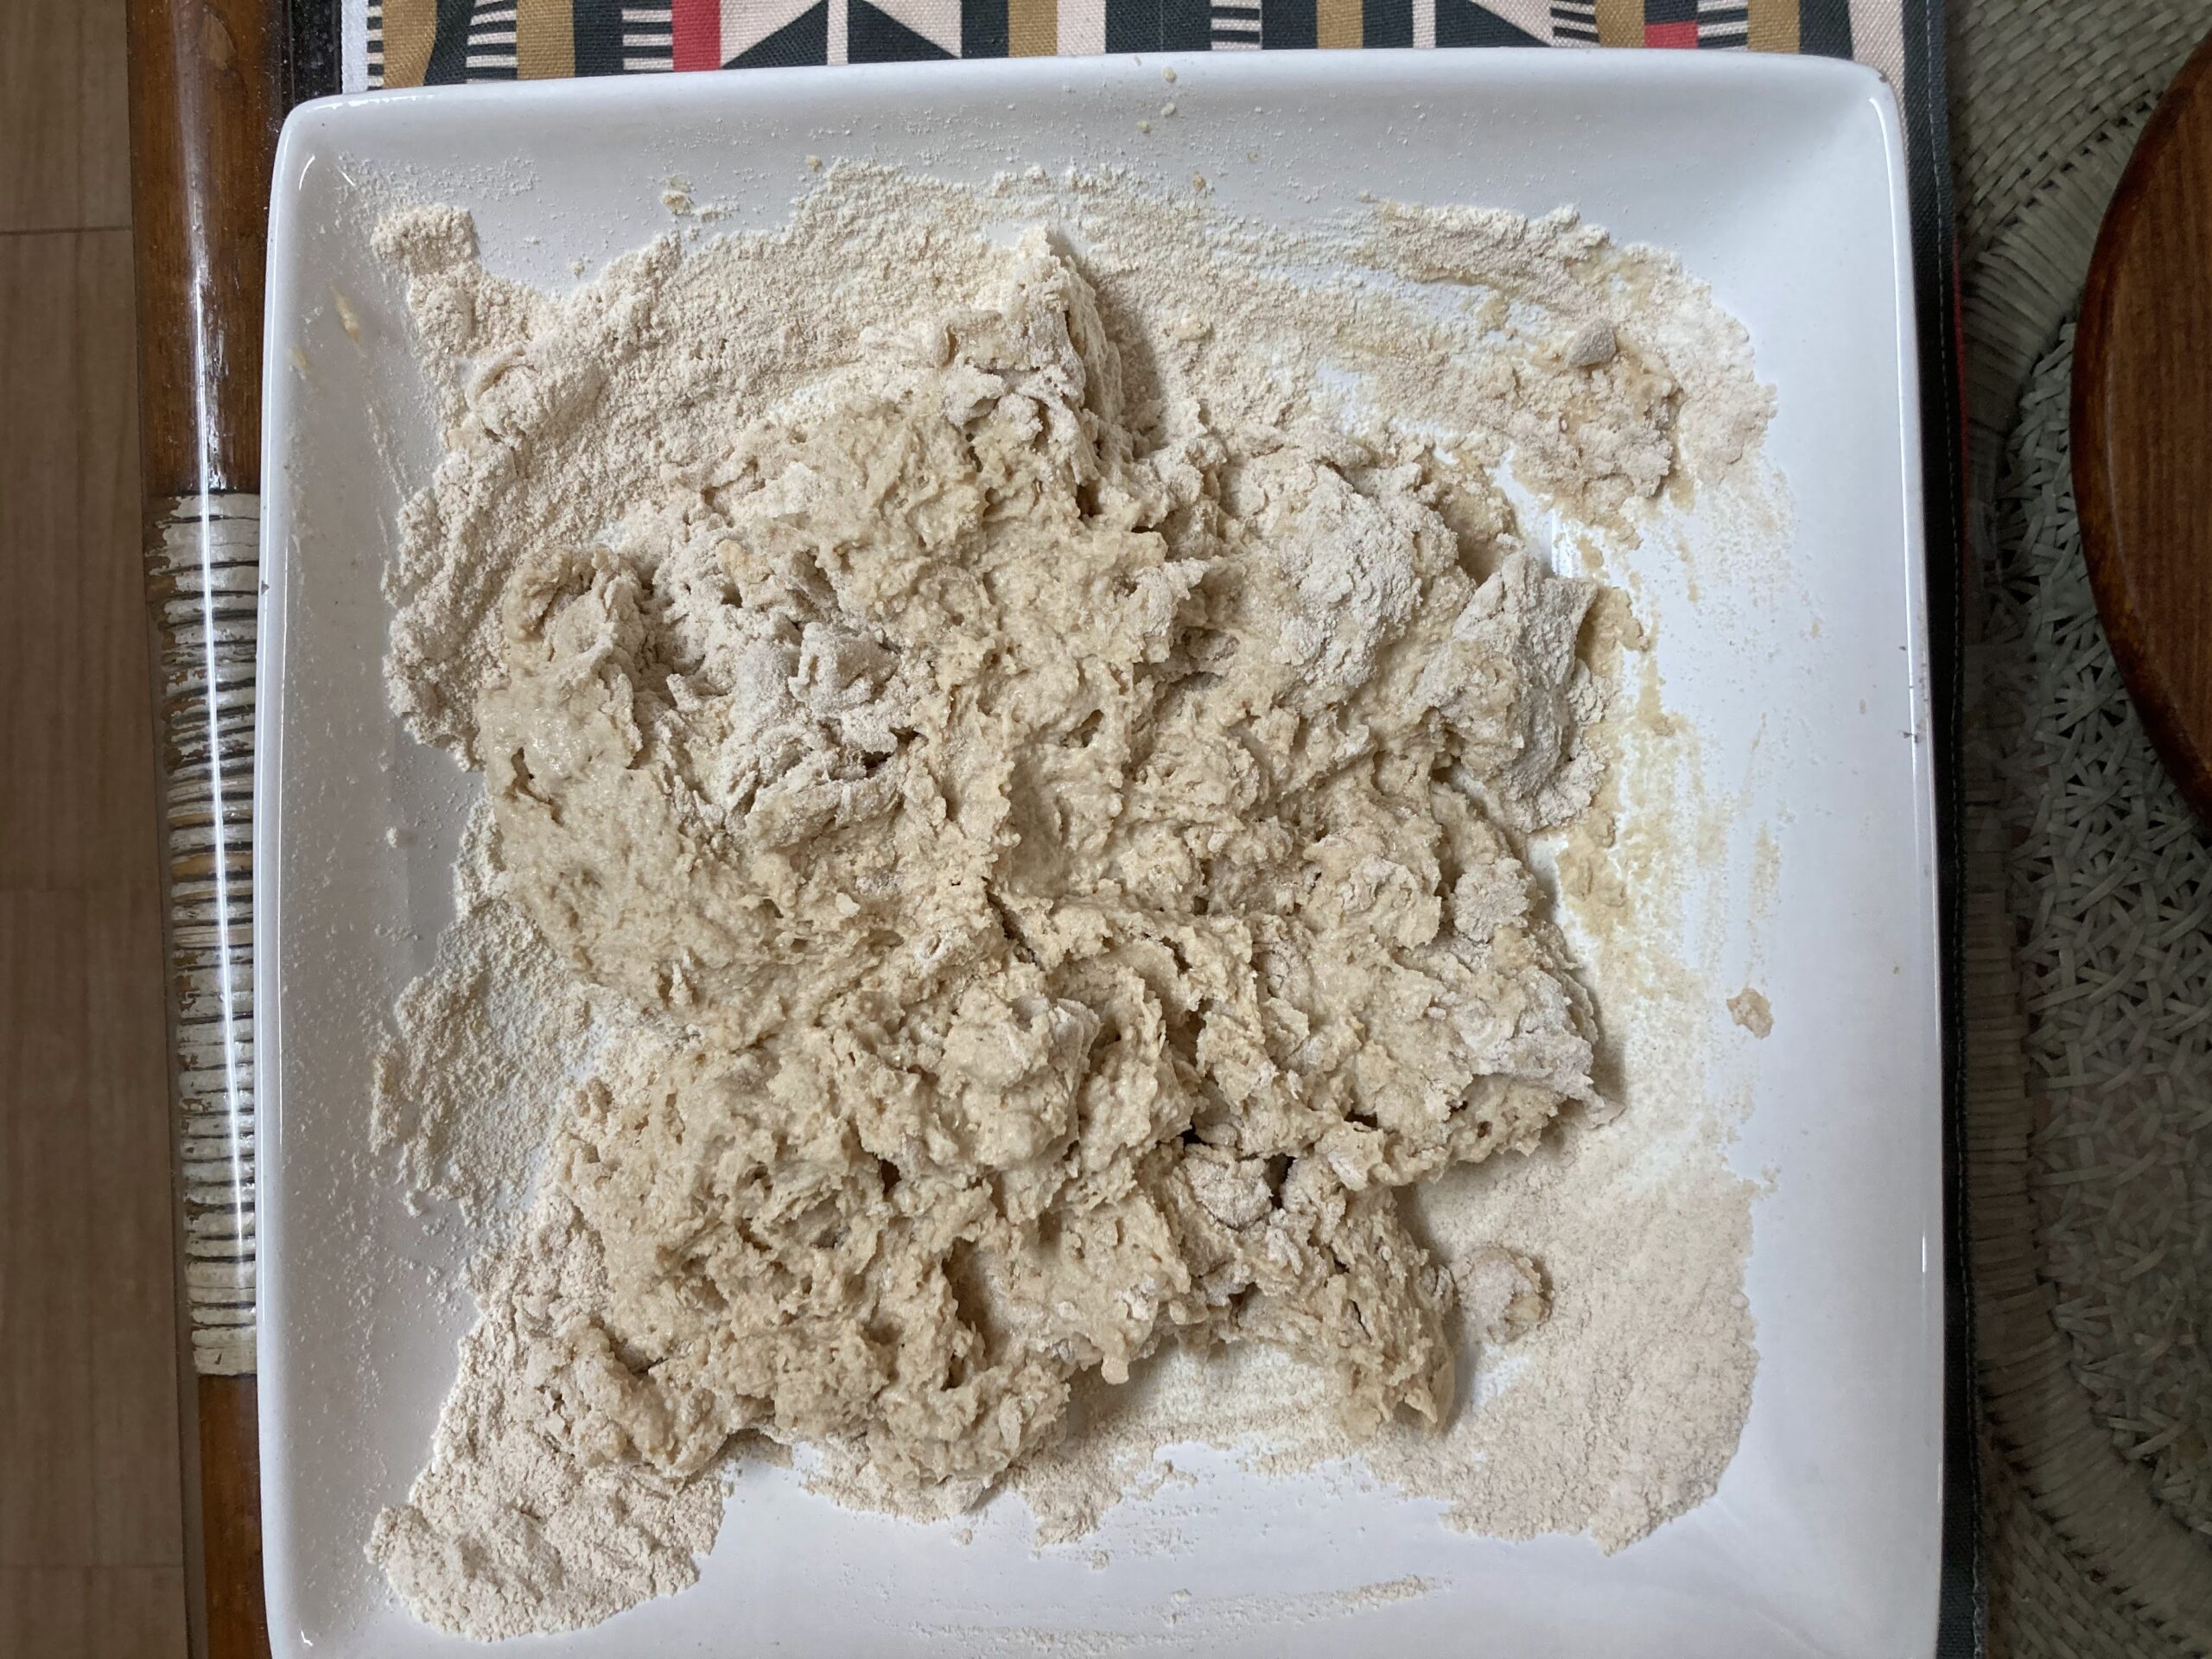
Gradually add the water to the dry mix, and knead gently. Gradually add water and lemon juice and knead the flour gently. Keep it aside for 1 to 2 hours if you are not in a hurry. This process is called autolyse. It helps in breaking down the enzymes and help in gluten formation for well structured and good breads. We can now add yeast and salt to the dough. Initially the dough will seem messy and chaotic but be patient. The yeast gets active gradually by feeding on the sugar in the flour or the added sugar/jaggery and starts helping in fermentation. Remember to add water gradually. Keep kneading and folding it on itself (like folding a sheet of paper in half), for about 10 minutes for gluten to develop properly. Add some oil if it’s too sticky. Pull and fold the dough, onto itself. Over time, the dough will start to become smooth.
Step 3
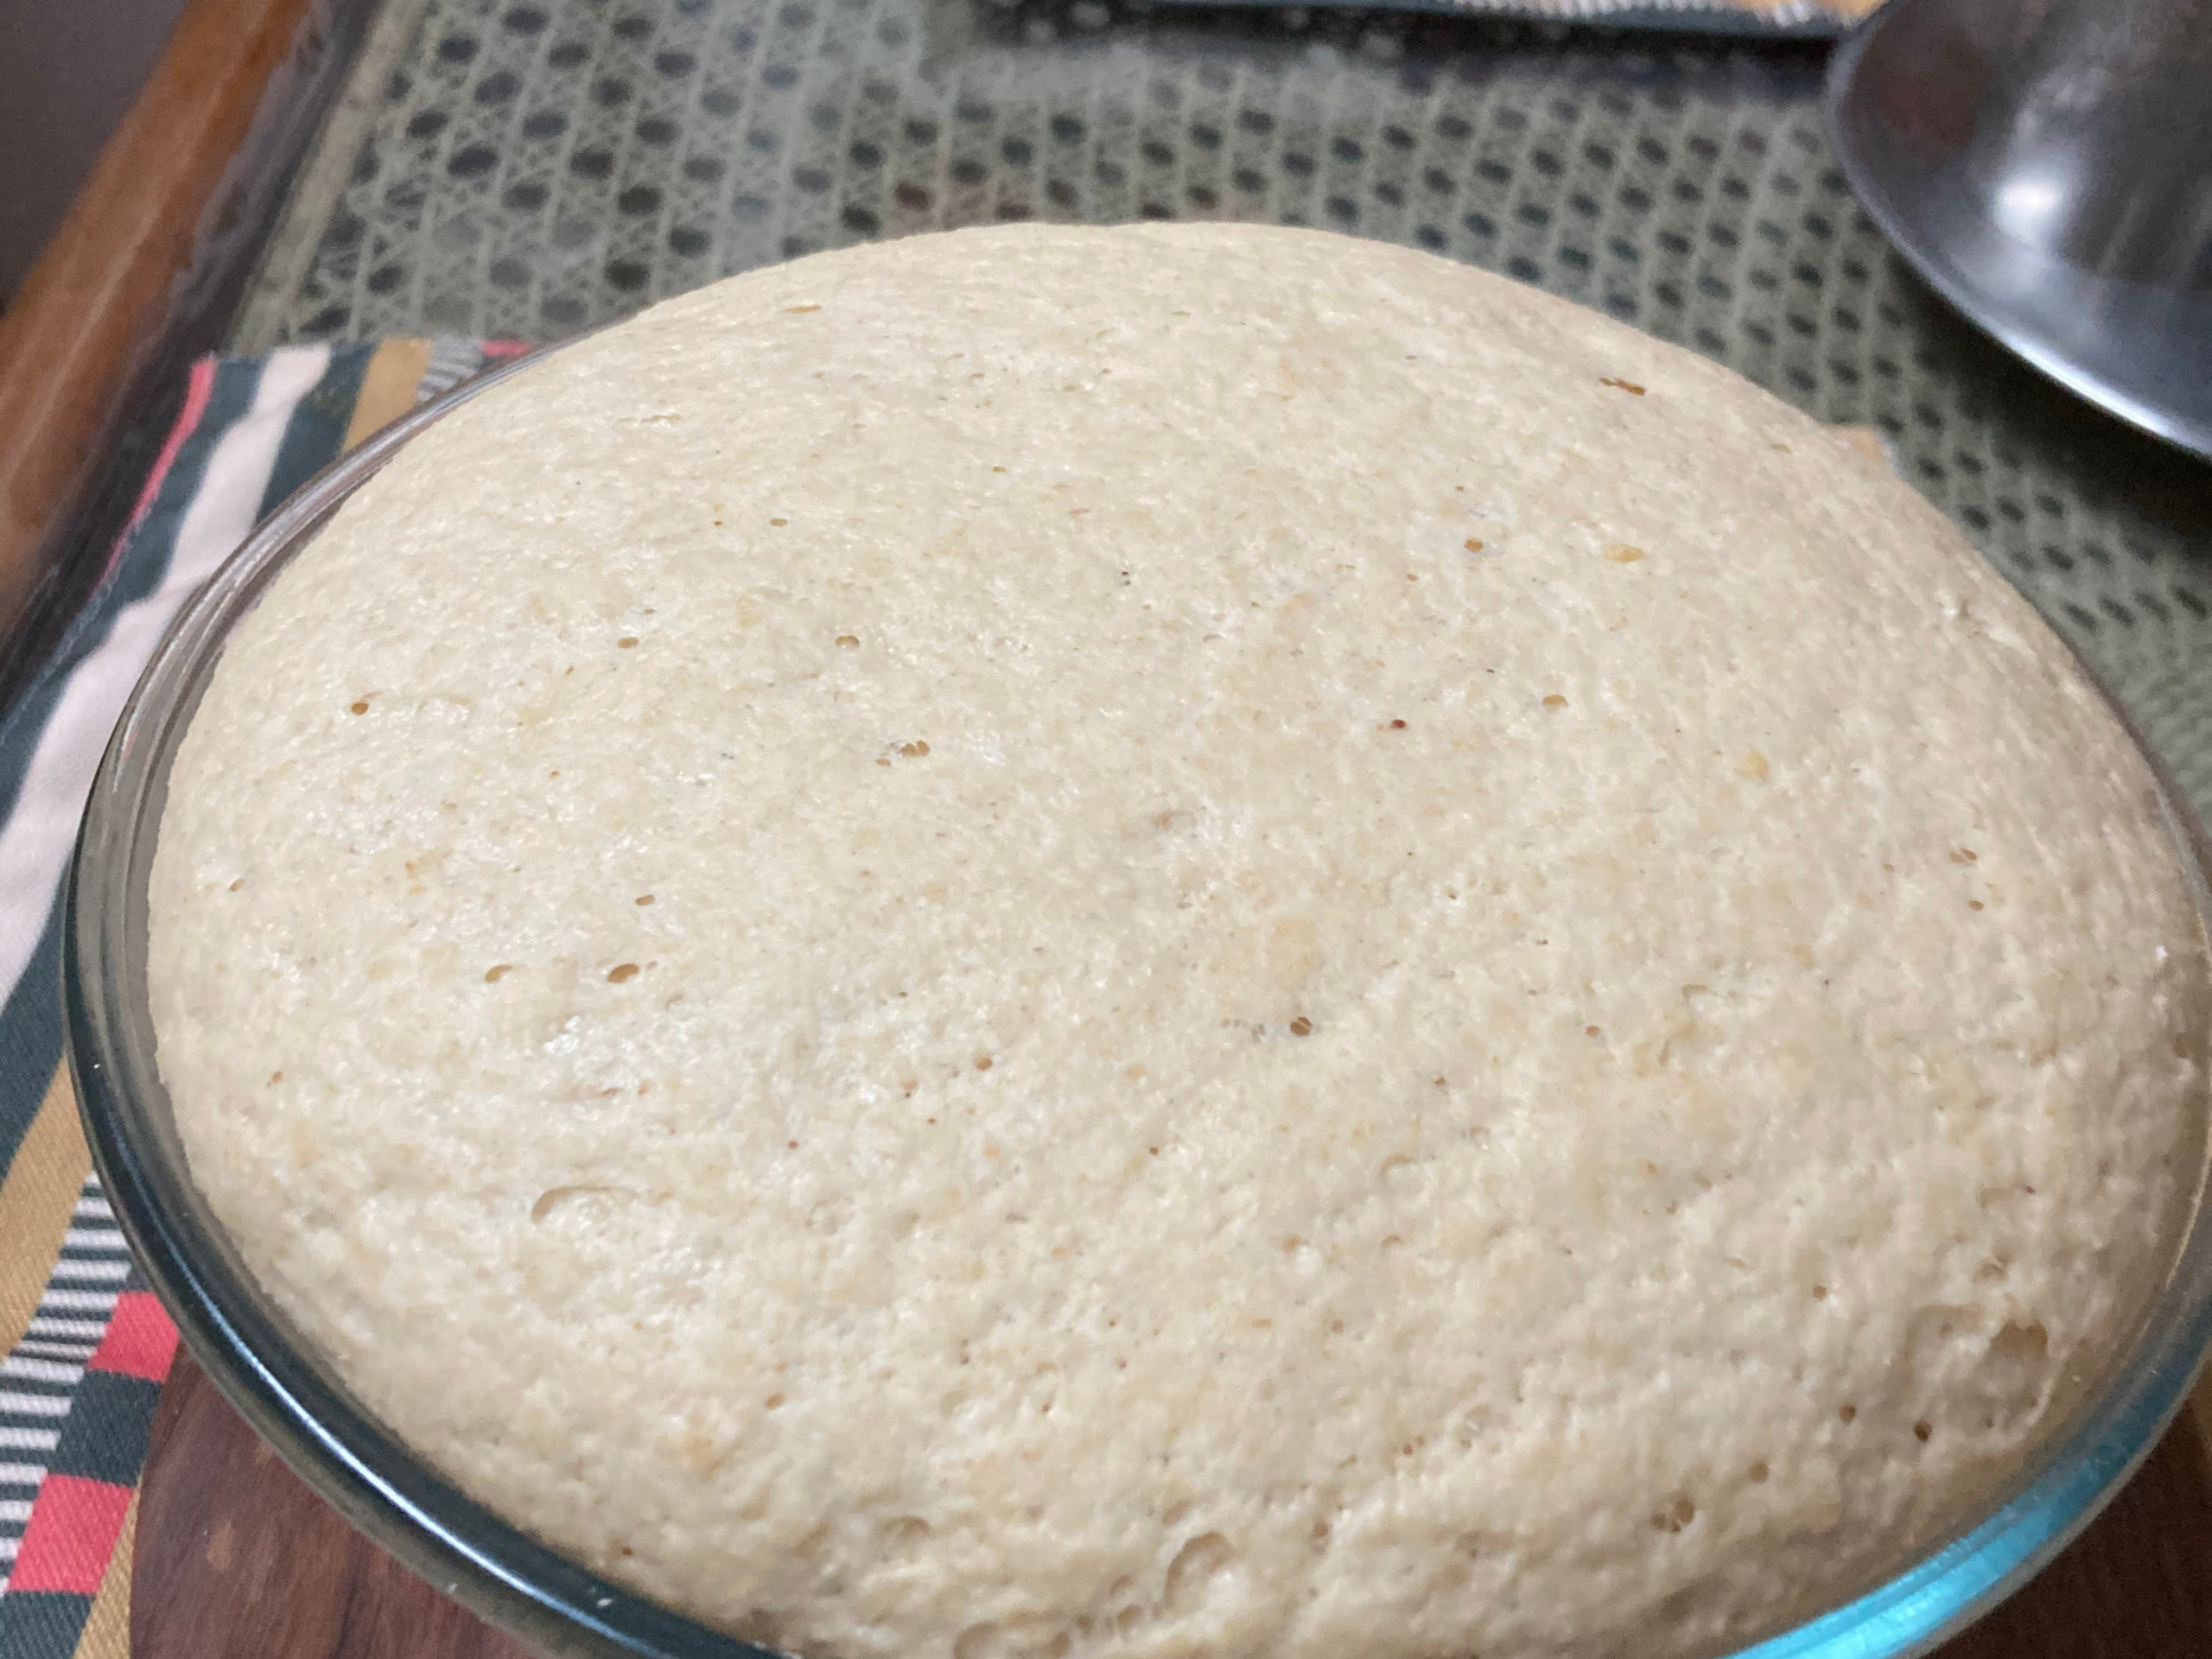
Roll the dough into a ball and place in a large greased bowl (preferably a glass bowl). Cover and keep the bowl in a dark and warm place. The fermentation process will double the dough in size, so make sure your bowl is large enough. The dough should not over ferment (i.e. the dough should not more than double, else it rises and then sinks). The dough in the bowl for fermentation. You should have a similar texture after kneading. To test whether the dough has fermented and risen well, the dough should spring back after a gentle press. In my experience fermentation time in an Indian kitchen in warm weather would be 45 minutes to 1 hour. In cool weather, it’s about 1&1/2 to 2 hours. Dough after fermentation should be double - in volume.
Step 4
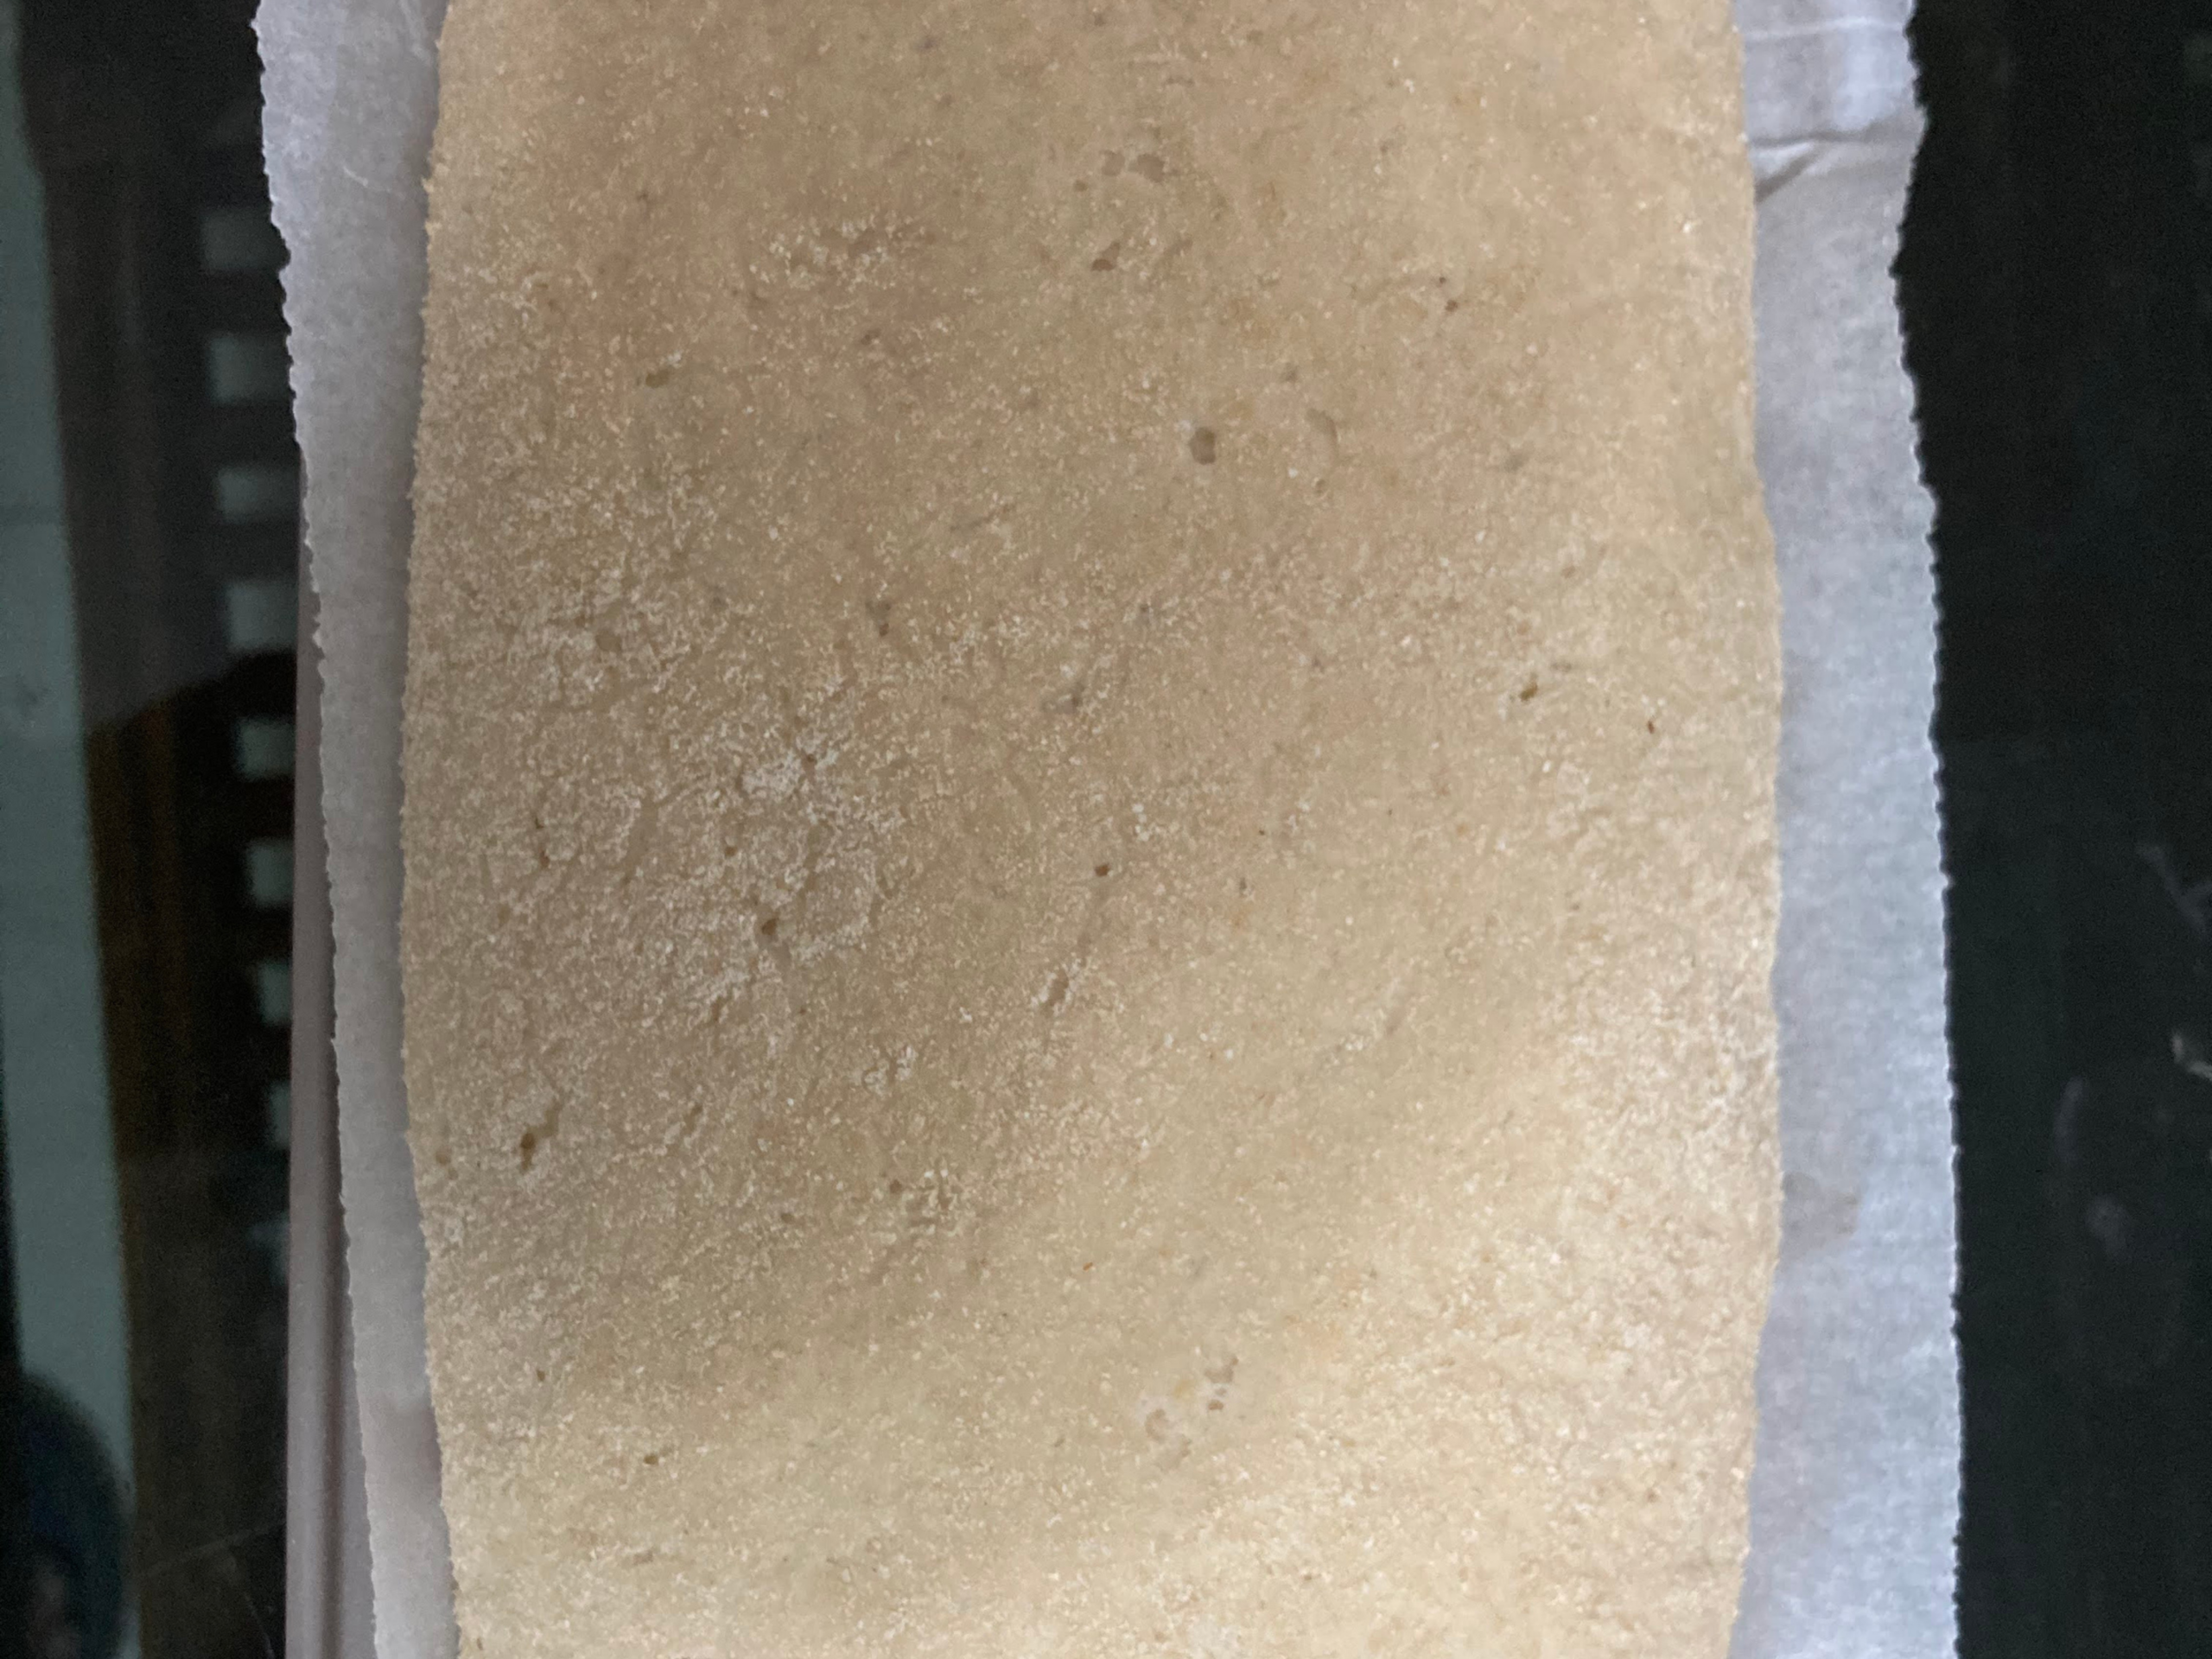
Gently take the dough out from the bowl. Because of the fermentation it should slide out. Do not pull it out else you disturb the activity of the yeast. Again, gently deflate the dough with finger tips – I call it dimpling. Gently deflate the dough with your fingers. The yeast is still alive! Then neatly shape the dough into a loaf.
Step 5
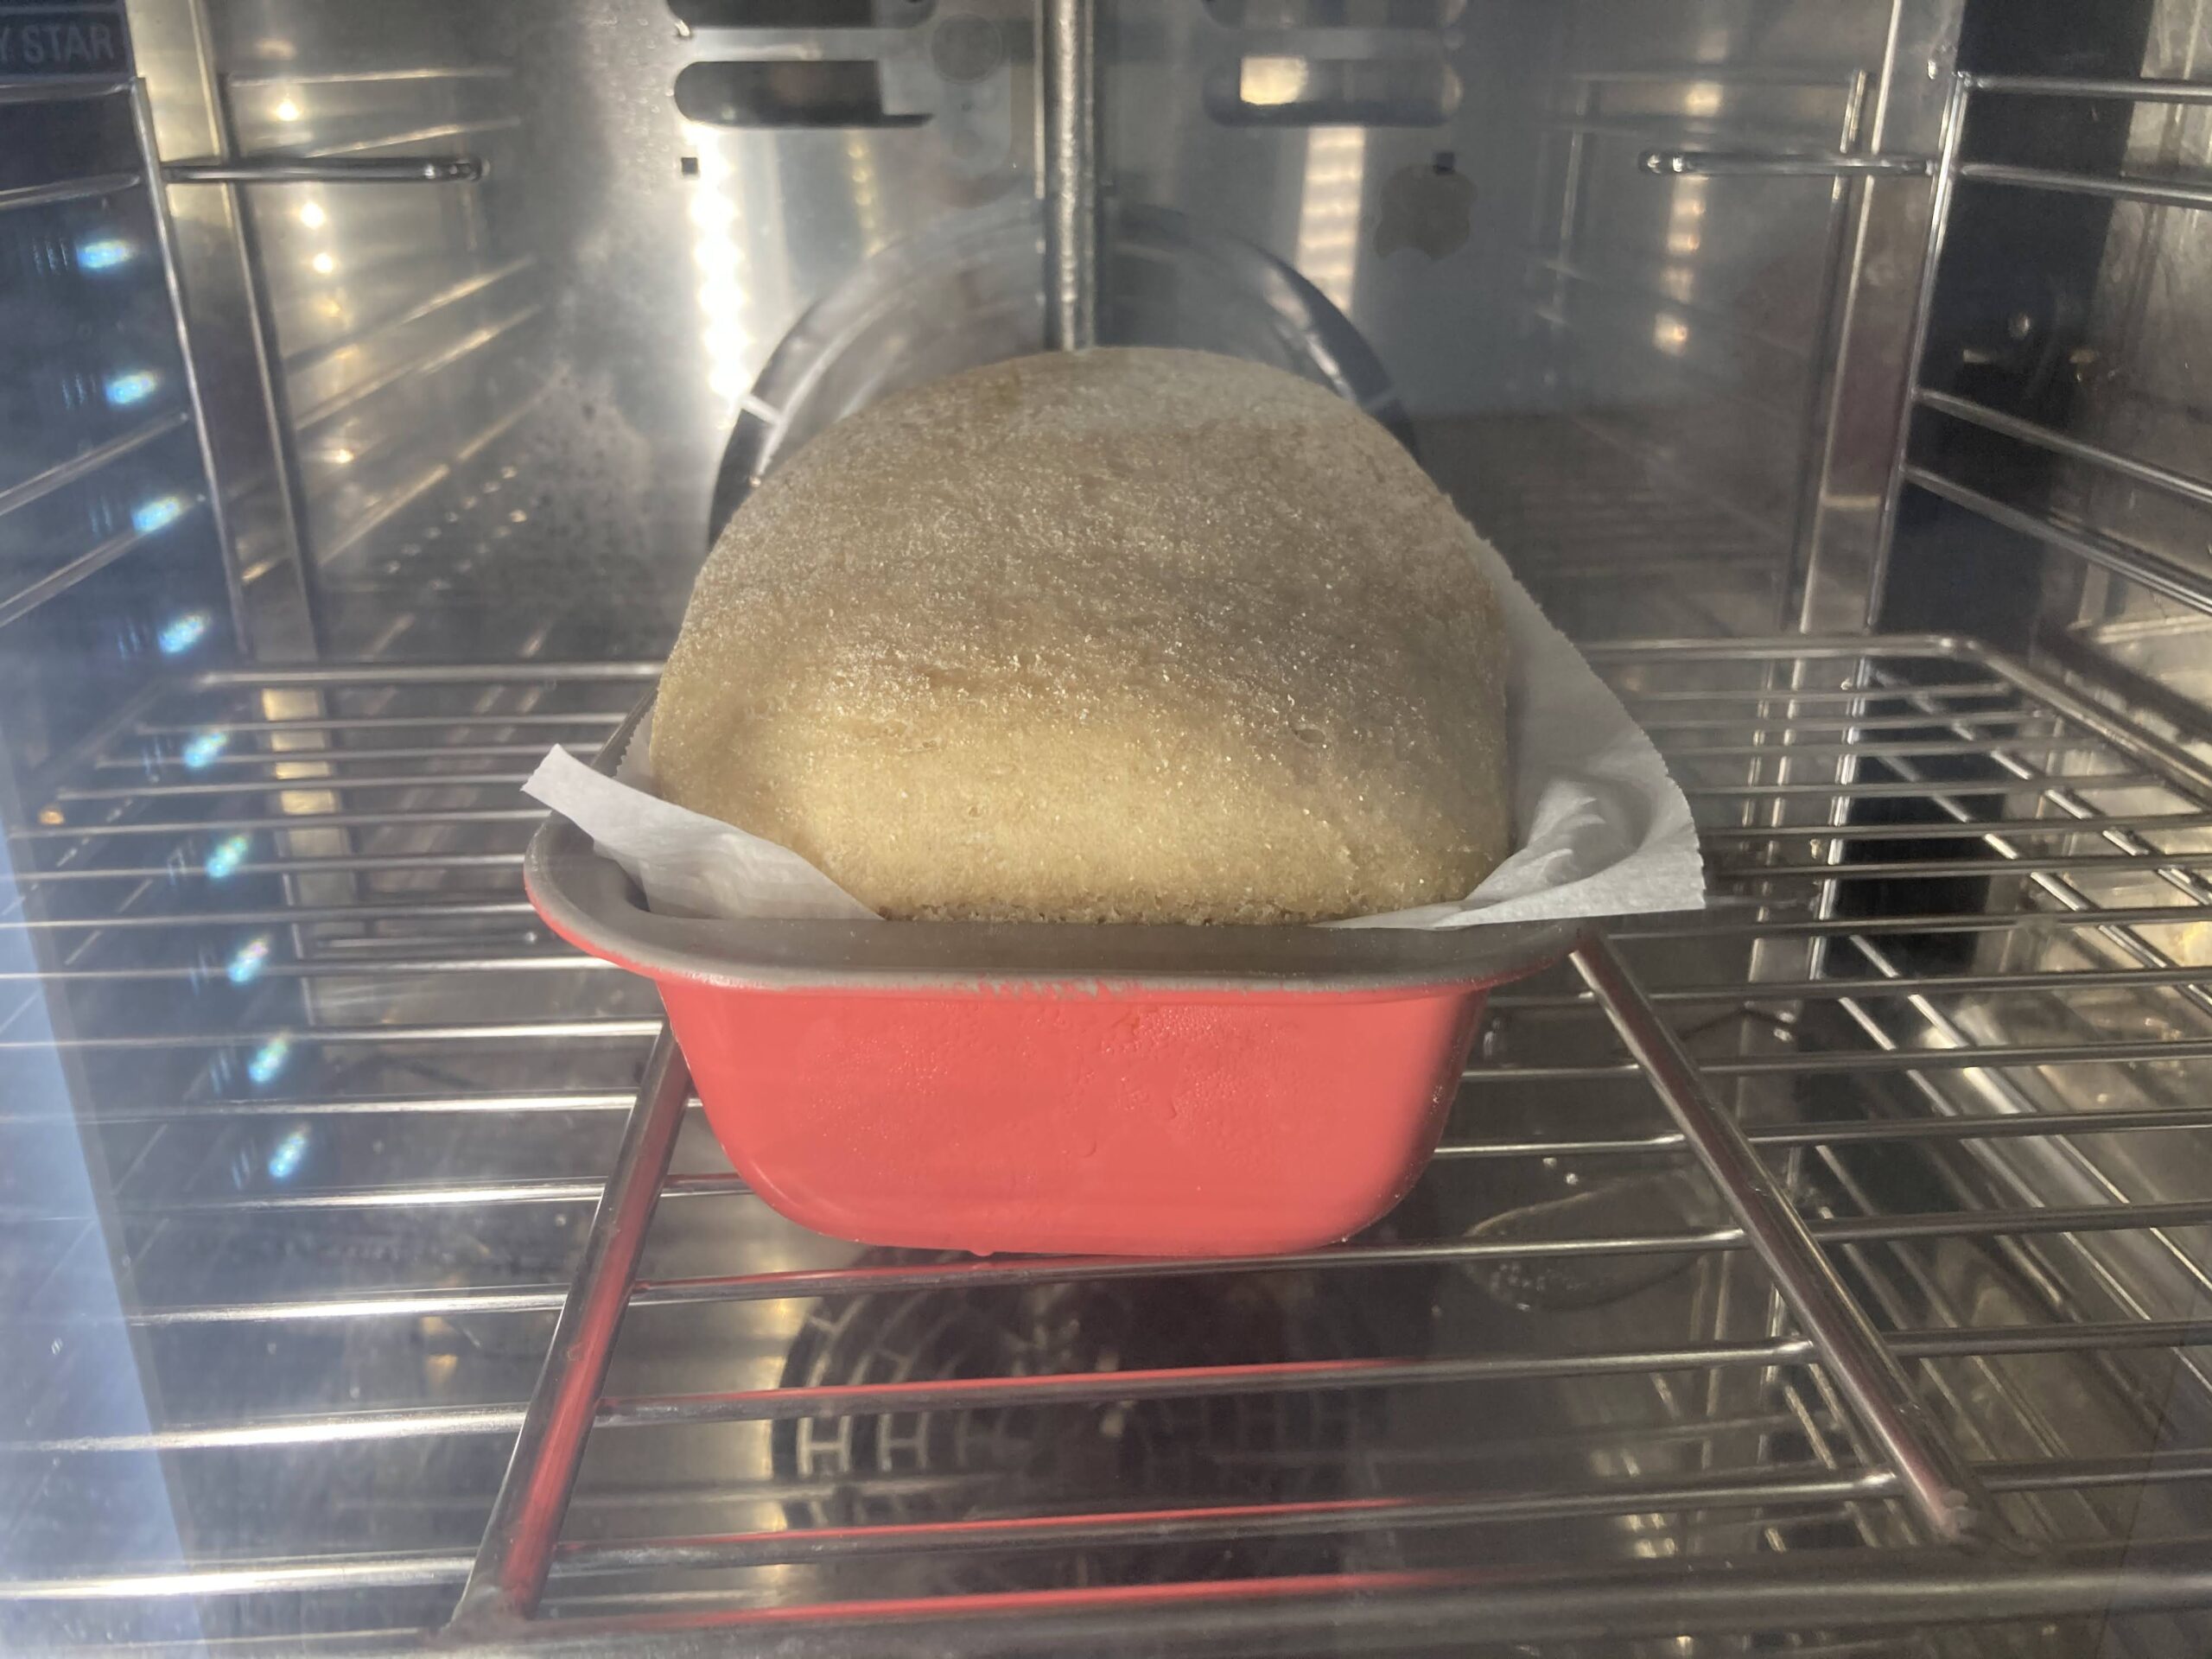
Place the dough in a loaf tin, seam side down, for proving (second rise). Remember, the dough has yeast which is alive and has to be handled with care, at all times. It should not over-prove (i.e. the surface should not flatten and crack) else it does not spring in the oven and you’ll get a flat-top after baking. During the prove, the dough should rise, while maintaining its shape. Proving time is just half of the fermentation time. With practice, you’ll be able to tell by the look and feel of the dough.
Step 6
Pre-heat the oven to 180 degrees C Bake in a preheated oven at 180 degrees C for about 35-40 minutes, till done.
About the ‘till done’ …
It goes without saying that the right baking time is crucial. But the time does differ from oven-to- oven. So just keep an eye on the texture; 35-40 minutes should be fine. Of course, if you feel that the bread is still too moist, you can continue baking for another 2-3 minutes.
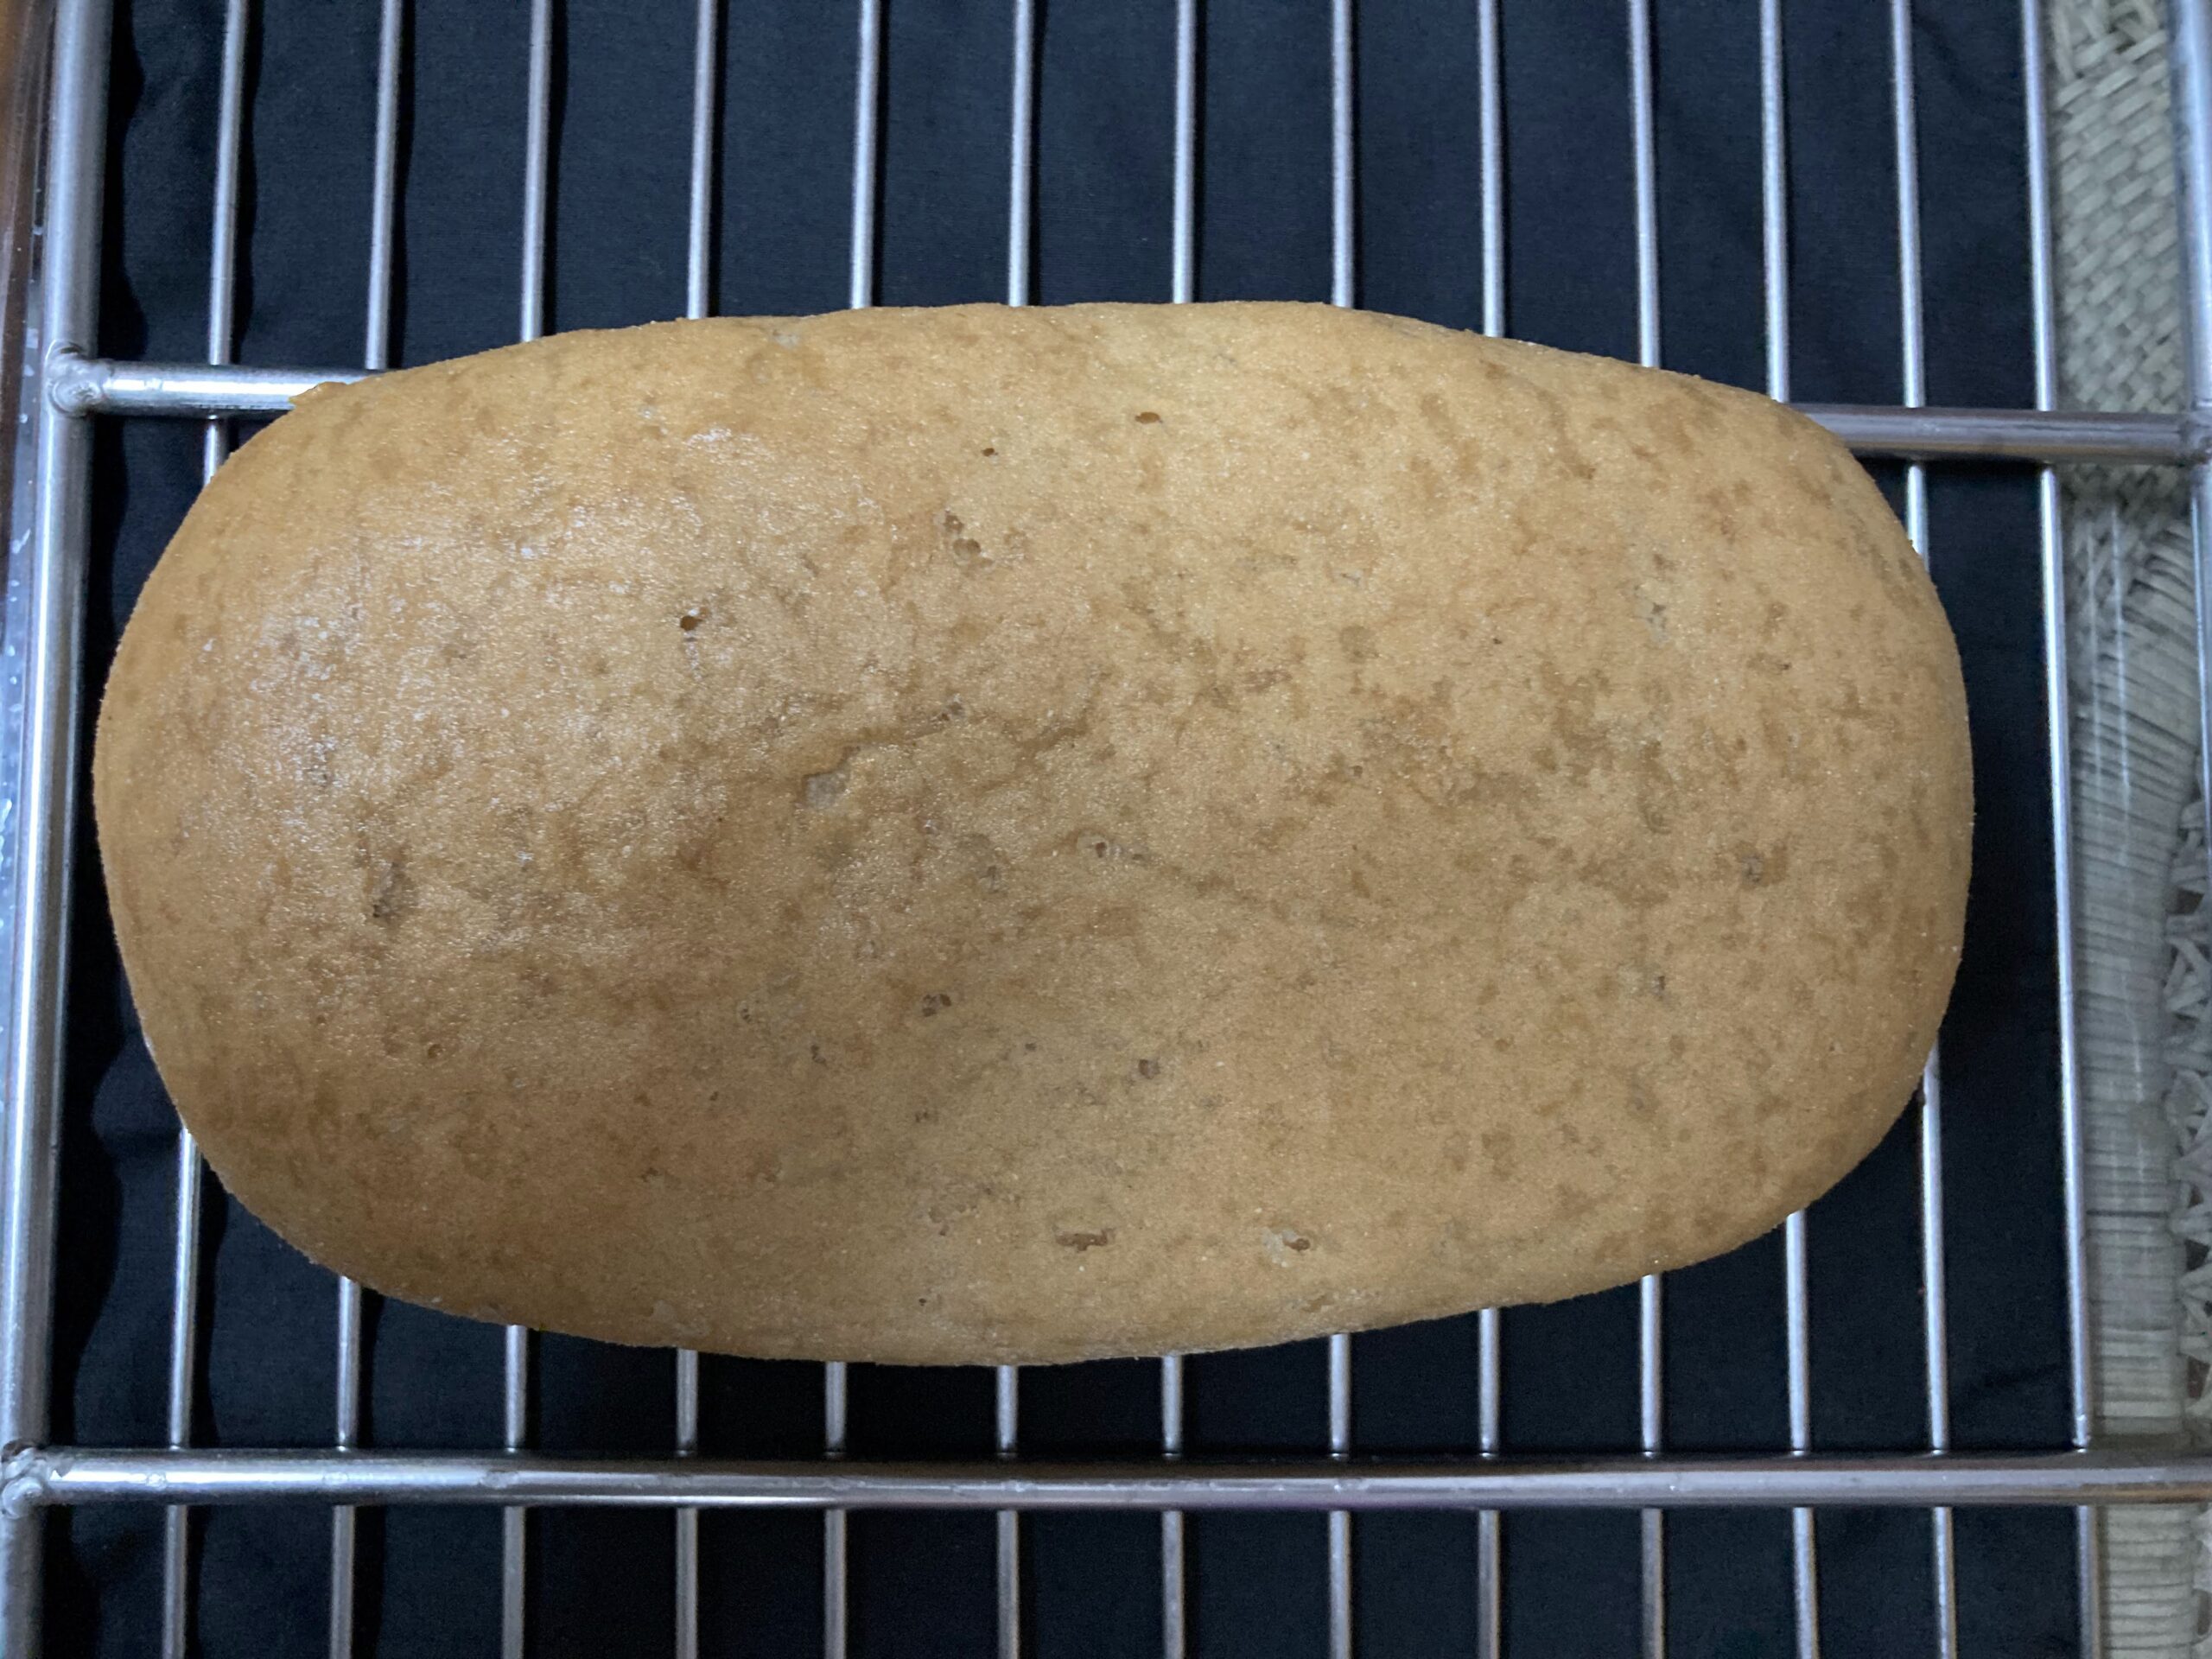
If done correctly, you’ll have a healthy & delicious bread loaf. Remember it is wholewheat flour and we did not add any additives or stabilizers or extra gluten.
Five years ago, I was new to kneading and found it tough to handle the wholewheat flour dough. I was not sure about yeast fermentation and proving at the time either. Just hang in there, and you’ll get it. Well begun is half done! The first step is most difficult and then there has to be discipline in whatever you do. I worked on it consistently and practiced kneading, folding etc. with the help of some baker friends, information on the internet and regular candid feedback from my family, especially Divyam, my son, who egged me to carry on and to keep experimenting. Also, I did not want to take shortcuts by adding gluten, chemicals or stabilizers from the market, so I practiced almost daily and the bread gradually improved. Here I am sharing my experiments, tried and tested recipes so that all new bakers just have to walk into the kitchen with a jar of yeast, and can come out with a lovely loaf of bread ! Elated!
Please try this recipe over the weekend and leave comments.